.png)
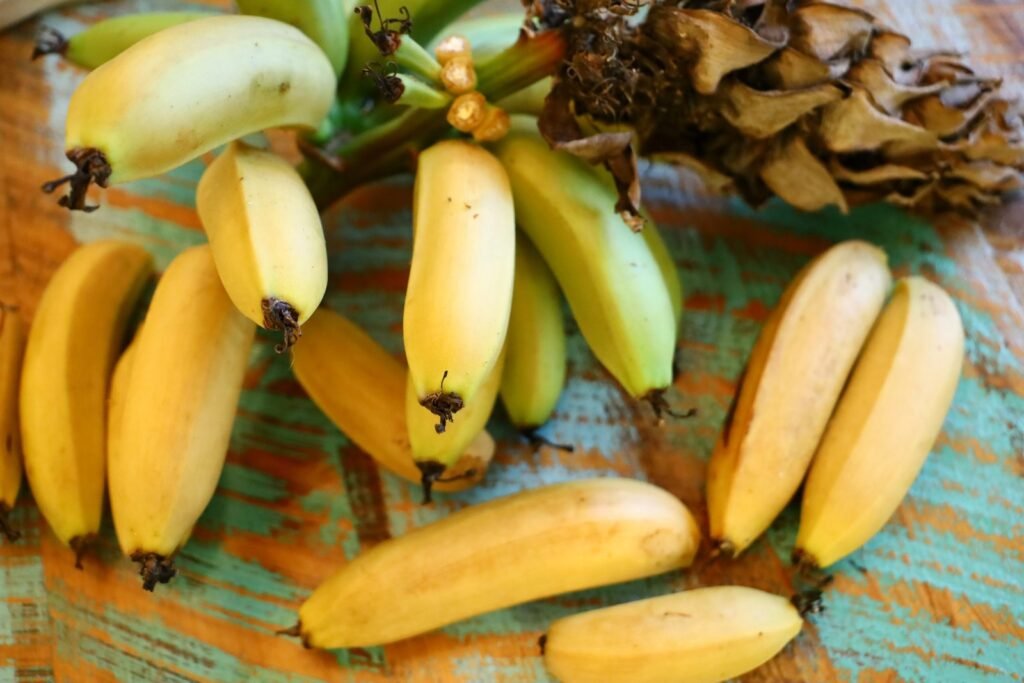
Our Home Grown Bananas

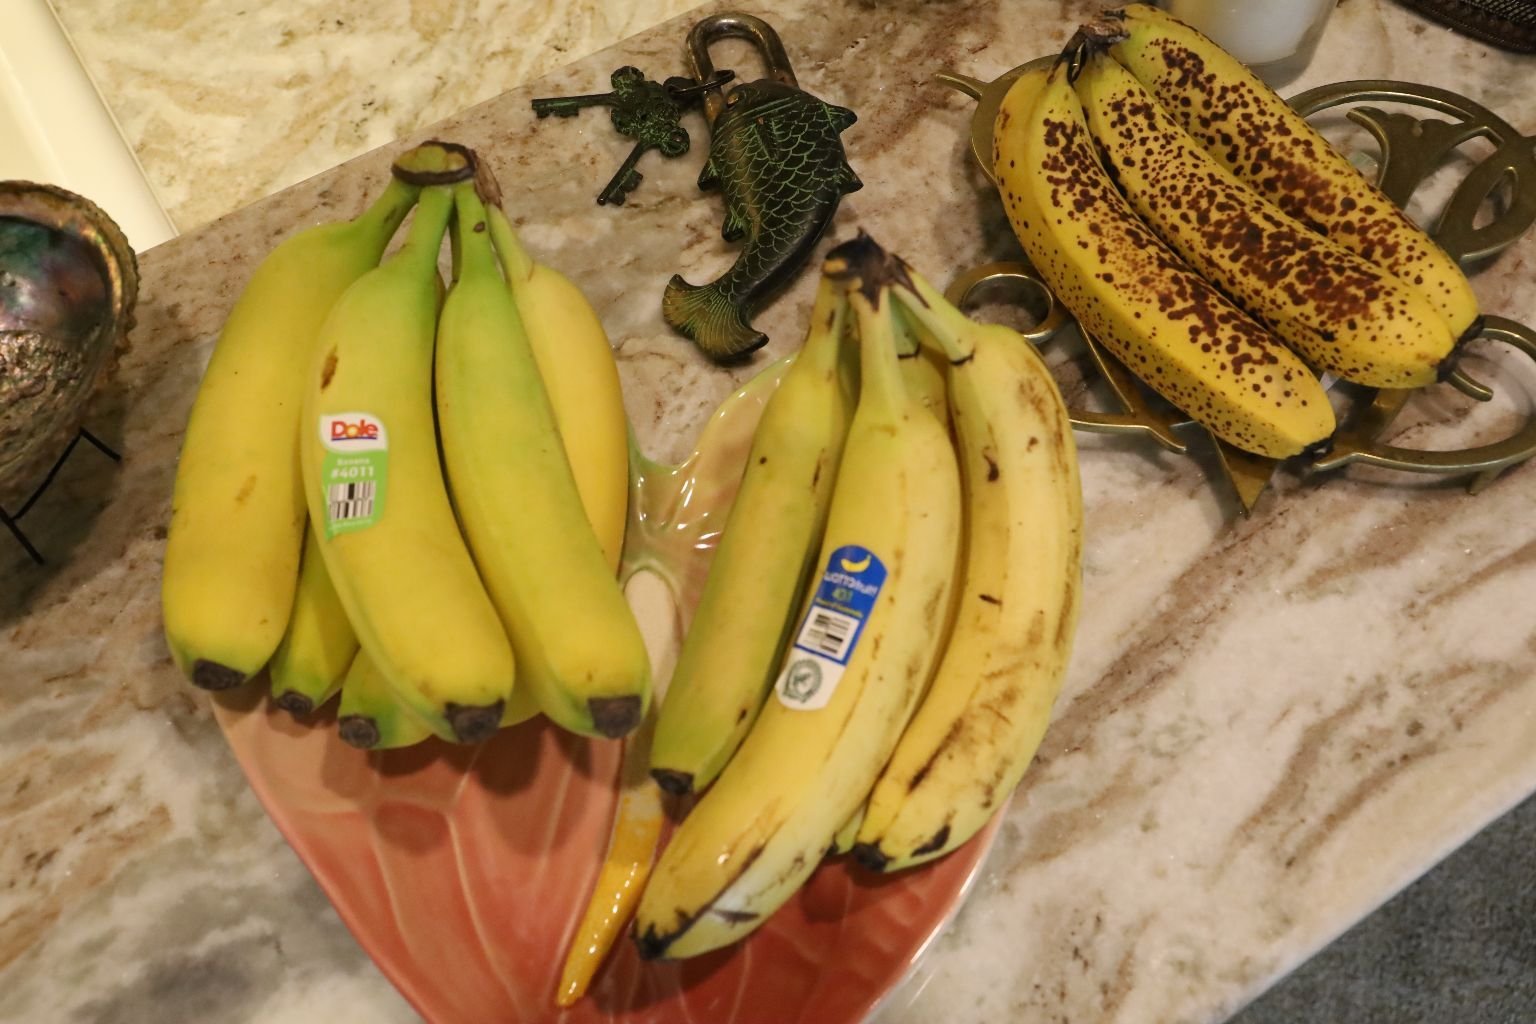
Whether you grow them yourself or buy them….
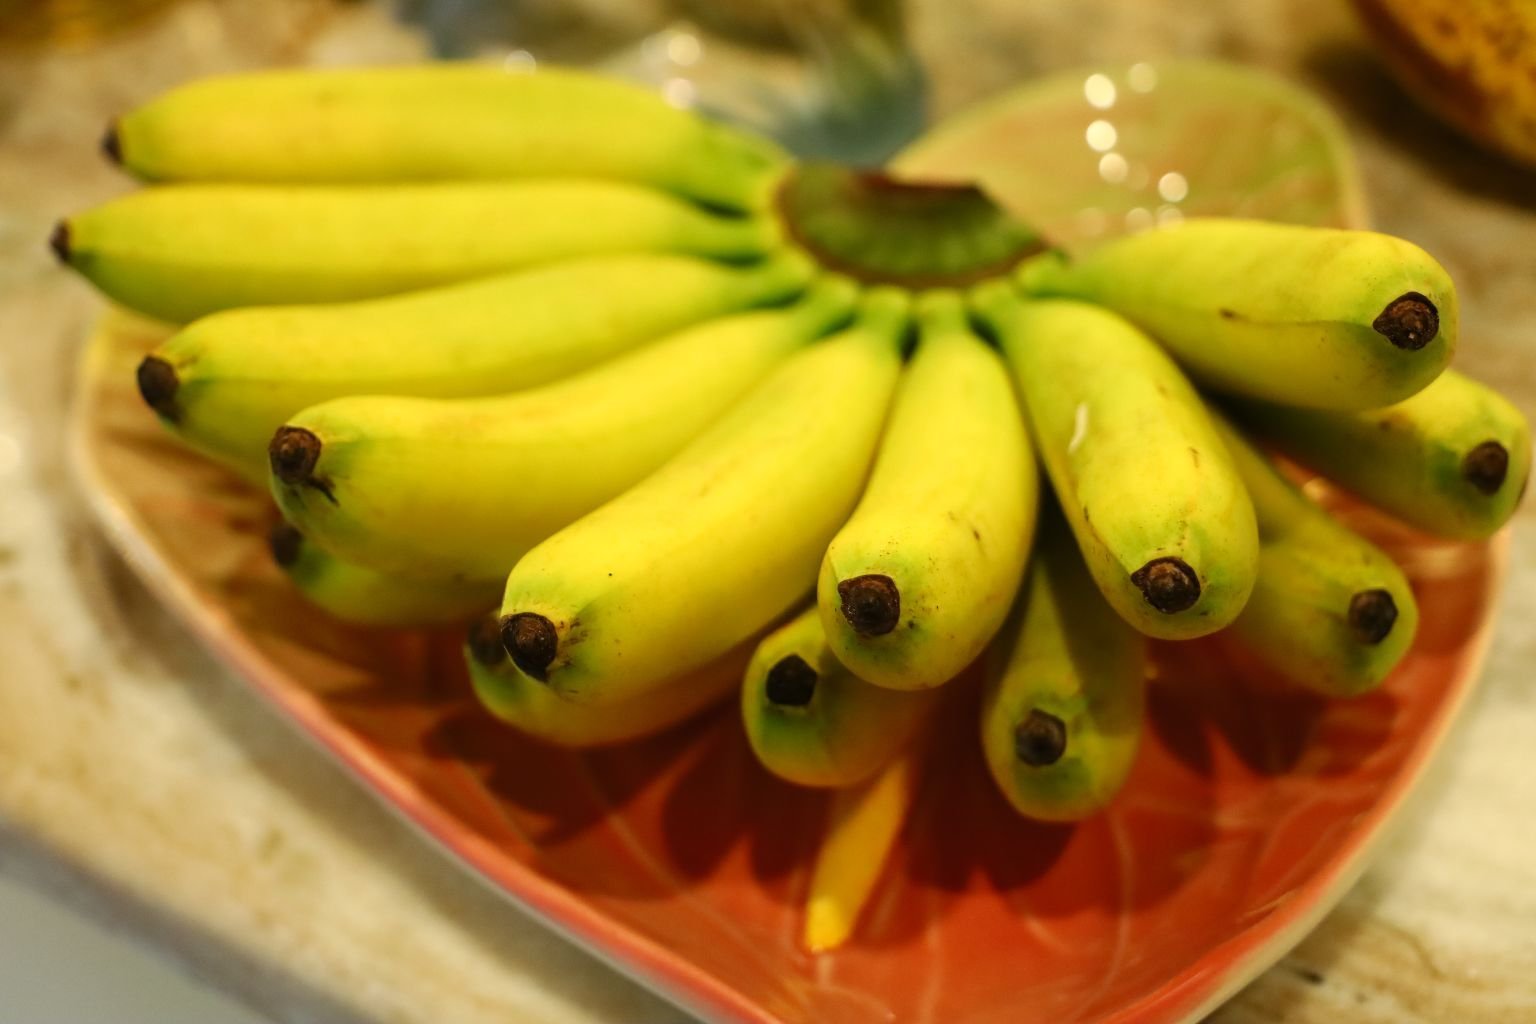
When I think of Bananas I always think of Babies, Toddlers, Banana Pudding, Nilla Waffers, Banana Bread, and my Grandmother Aycock’s Banana Sandwiches that she would make for me to eat for lunch when I would visit her at her home in Georgia.
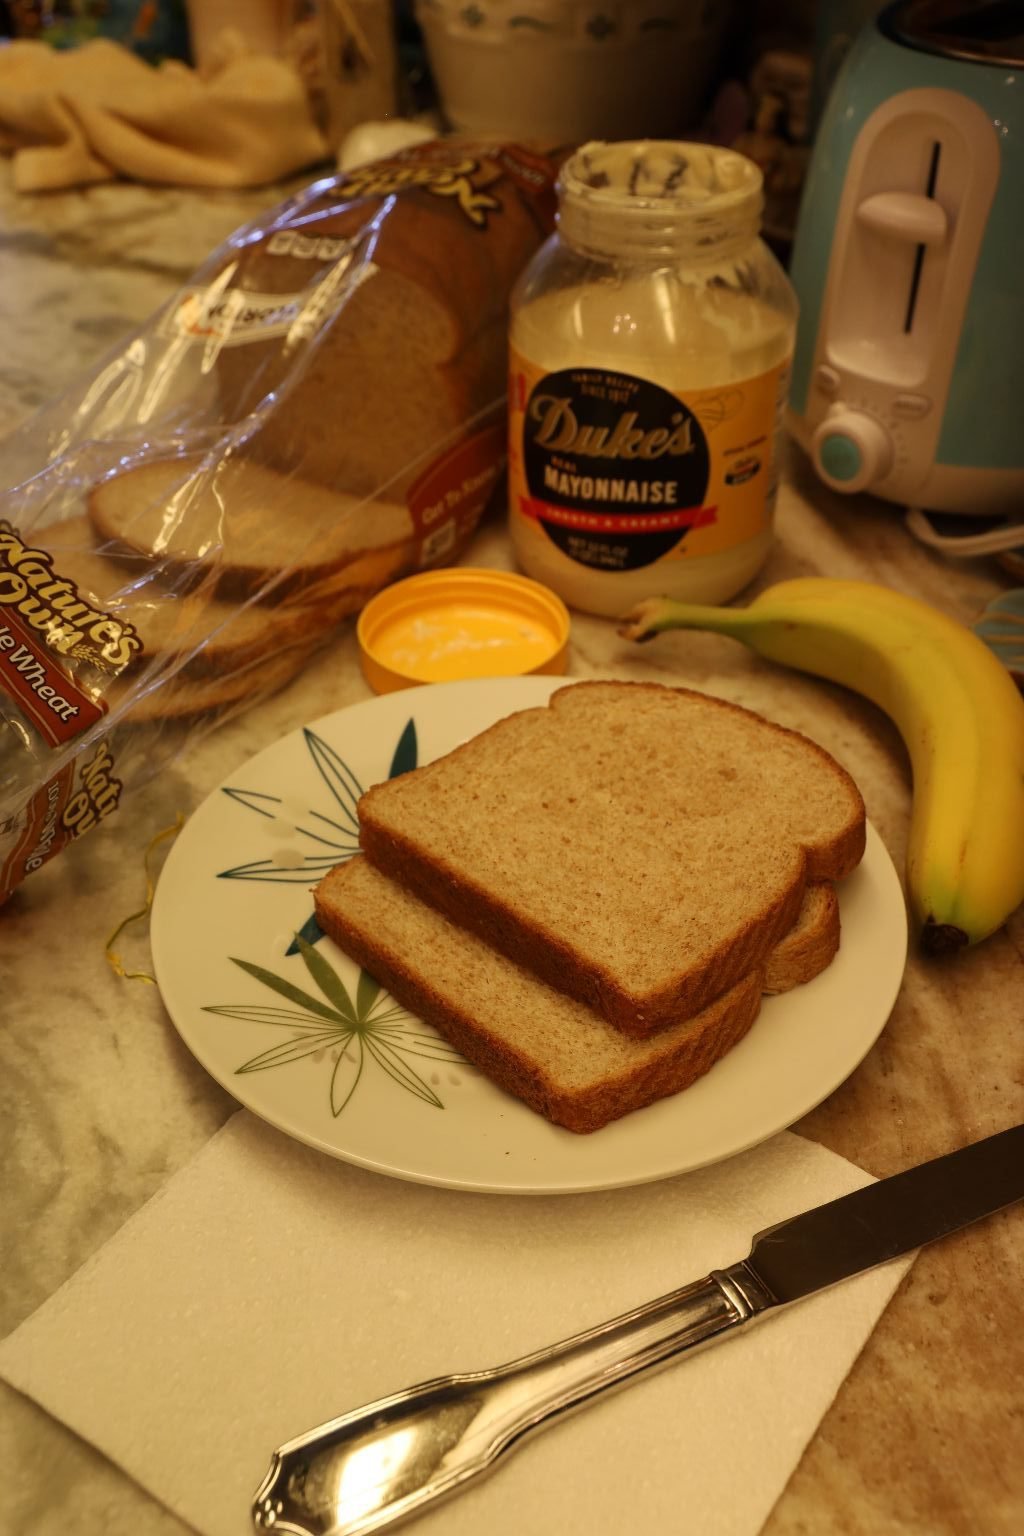
My Grandmother Aycock Recreation Banana Sandwich
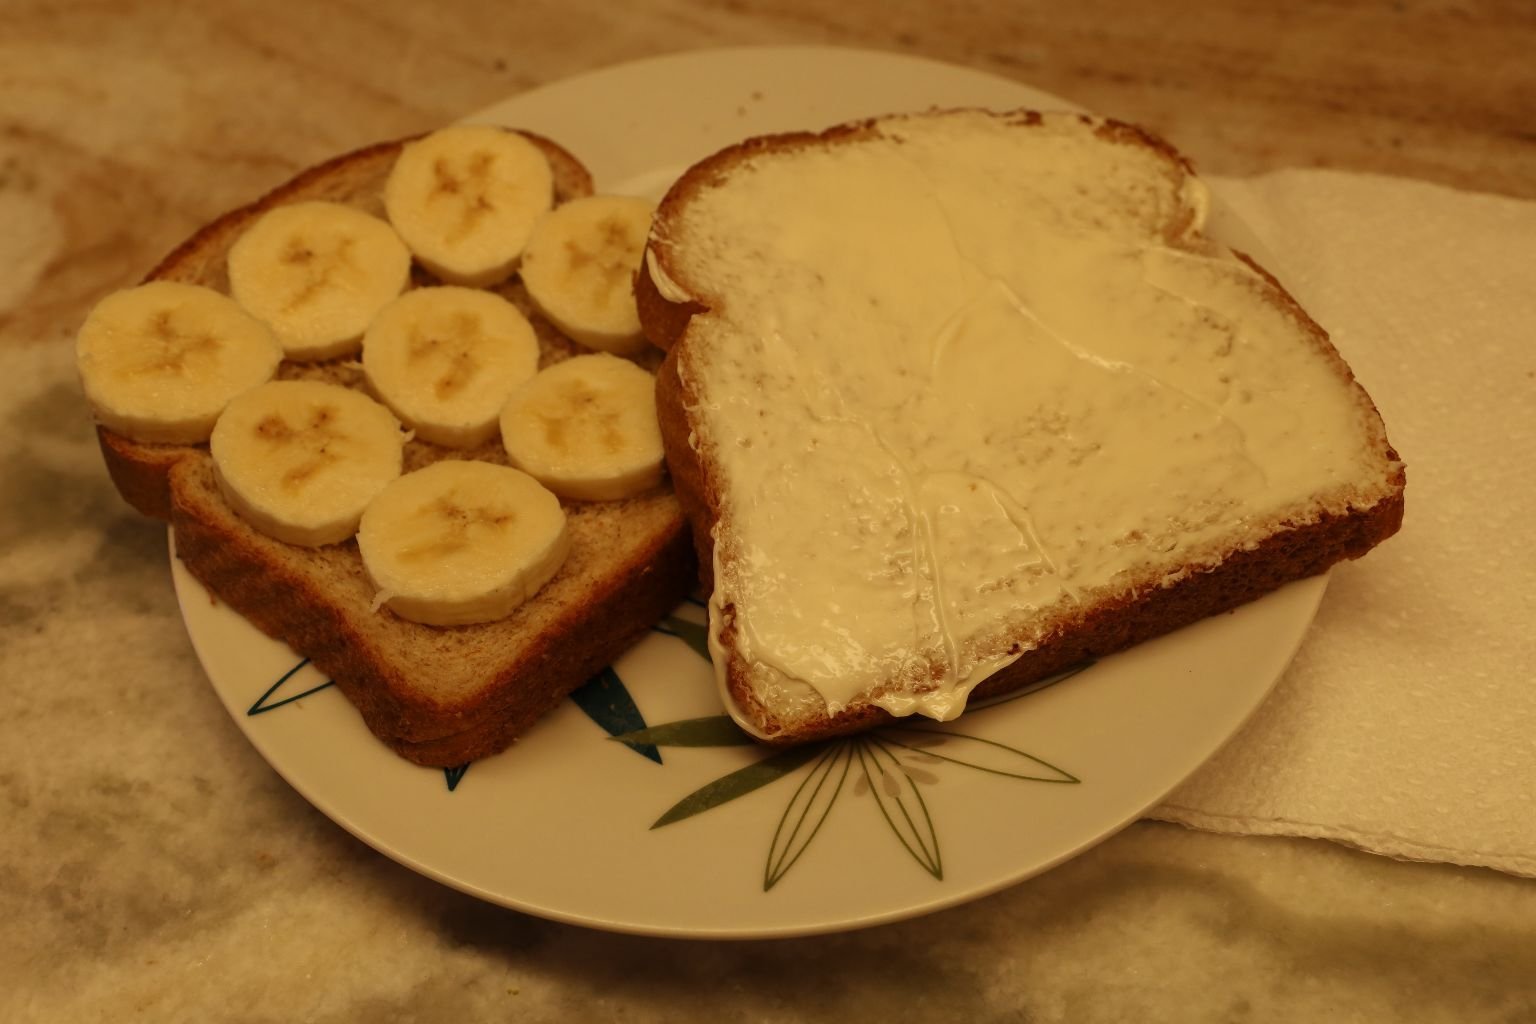
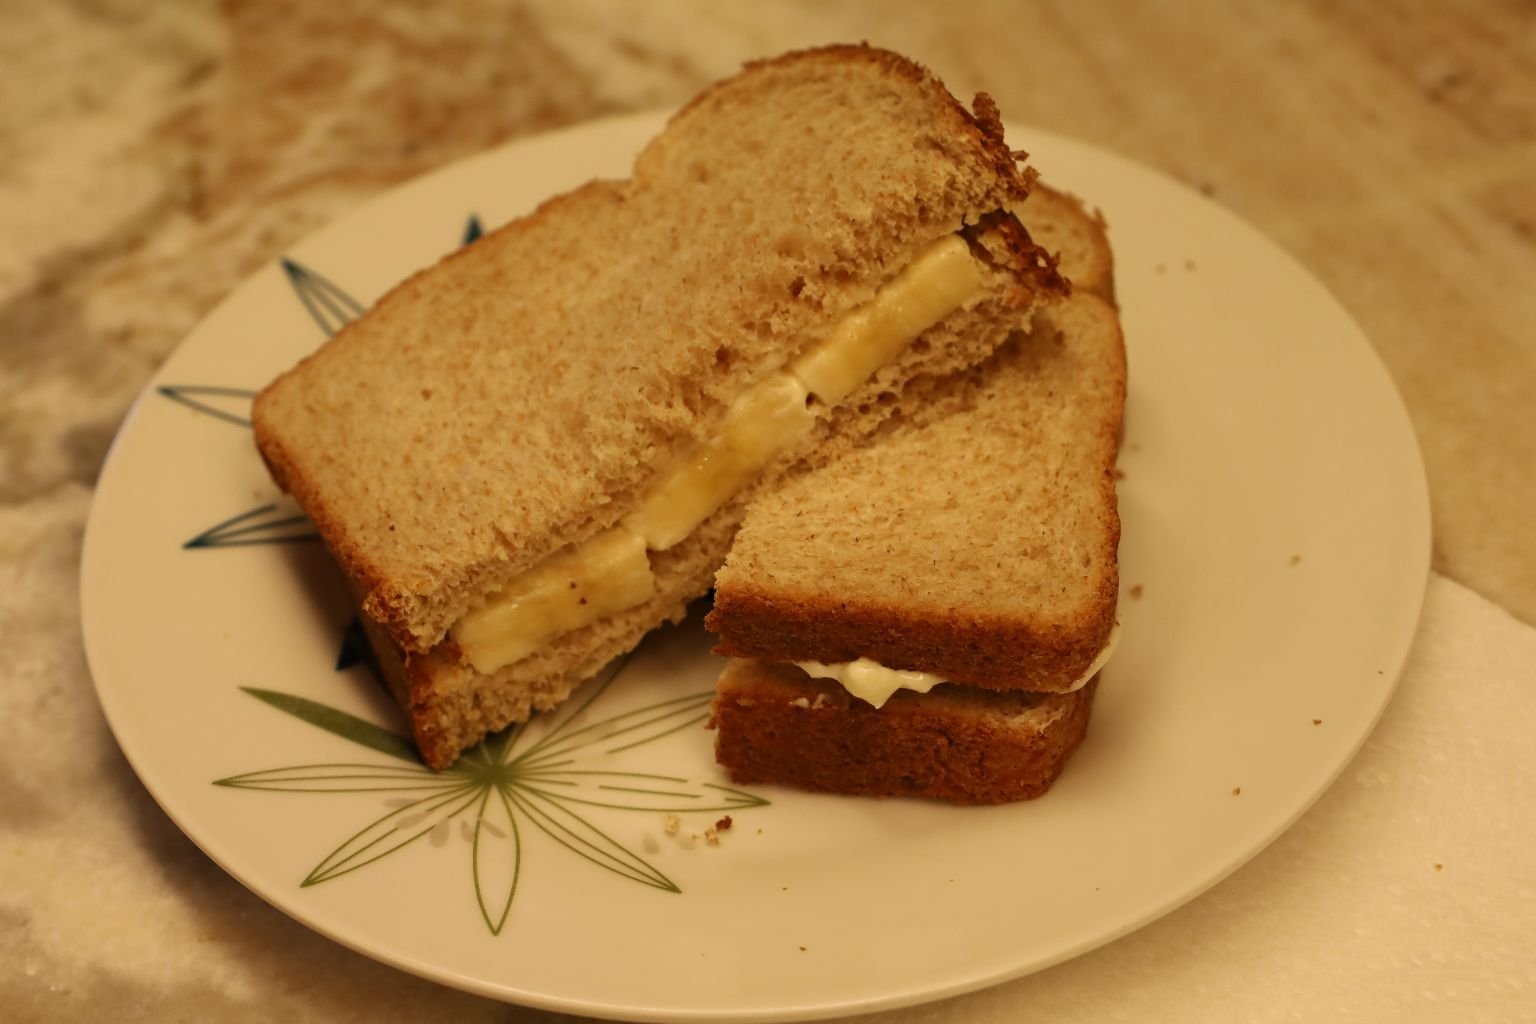
White Bread (although I used whole wheat here), Banana, and Mayonnaise
———————————————————-
Also, Bananas are probably the first solid fruit that we eat by the time we start to eat solid foods before the age of 1.
Most of us love the taste of Bananas in whatever forum that we choose to eat them. They are also delicious just by themselves. I do have a confession to make. My favorite time to eat Bananas are when they are still GREEN.
This is because we used to have a Banana Tree in our backyard in Hawaii and we used to get quite a haul of them all ready to be harvested at the exact time. Therefore in order for them not to go to waste I would start eating them while they were still green.
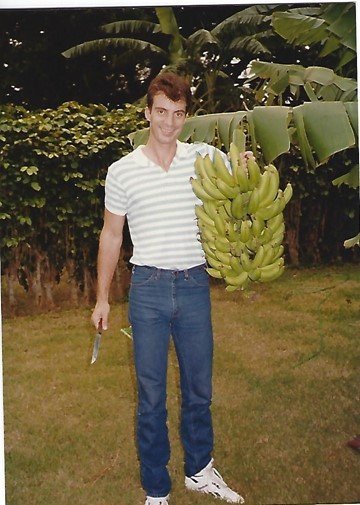
Gordon in our Backyard in Honolulu, Hawaii with our Bananas
Having our own backyard Bananas in Hawaii is why I wanted a Banana Tree here in our backyard in Florida.
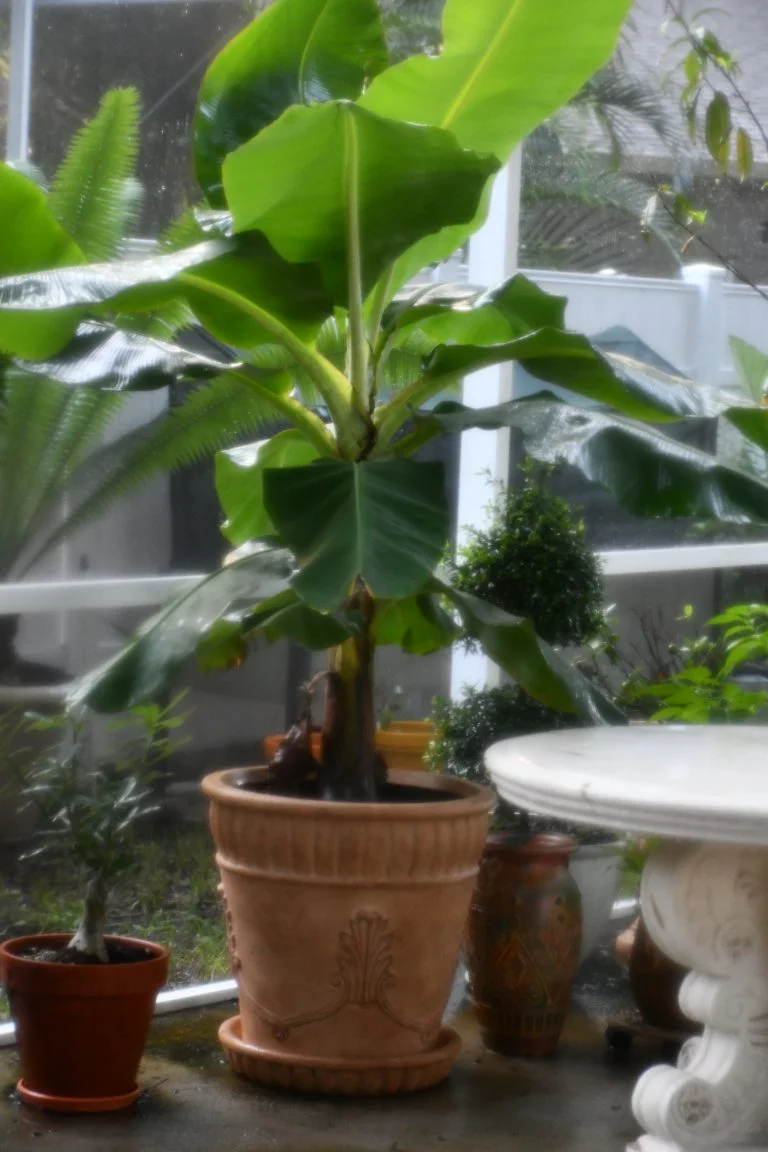
Because Banana Trees tend to spread, we limited this tree to a very large pot on our backyard lanai. However, they are spreading around the inside of the pot and now we have a good 5 trees growing up in it. Perhaps we will replant them somewhere in our backyard, but we do have some time to decide what we will eventually do.
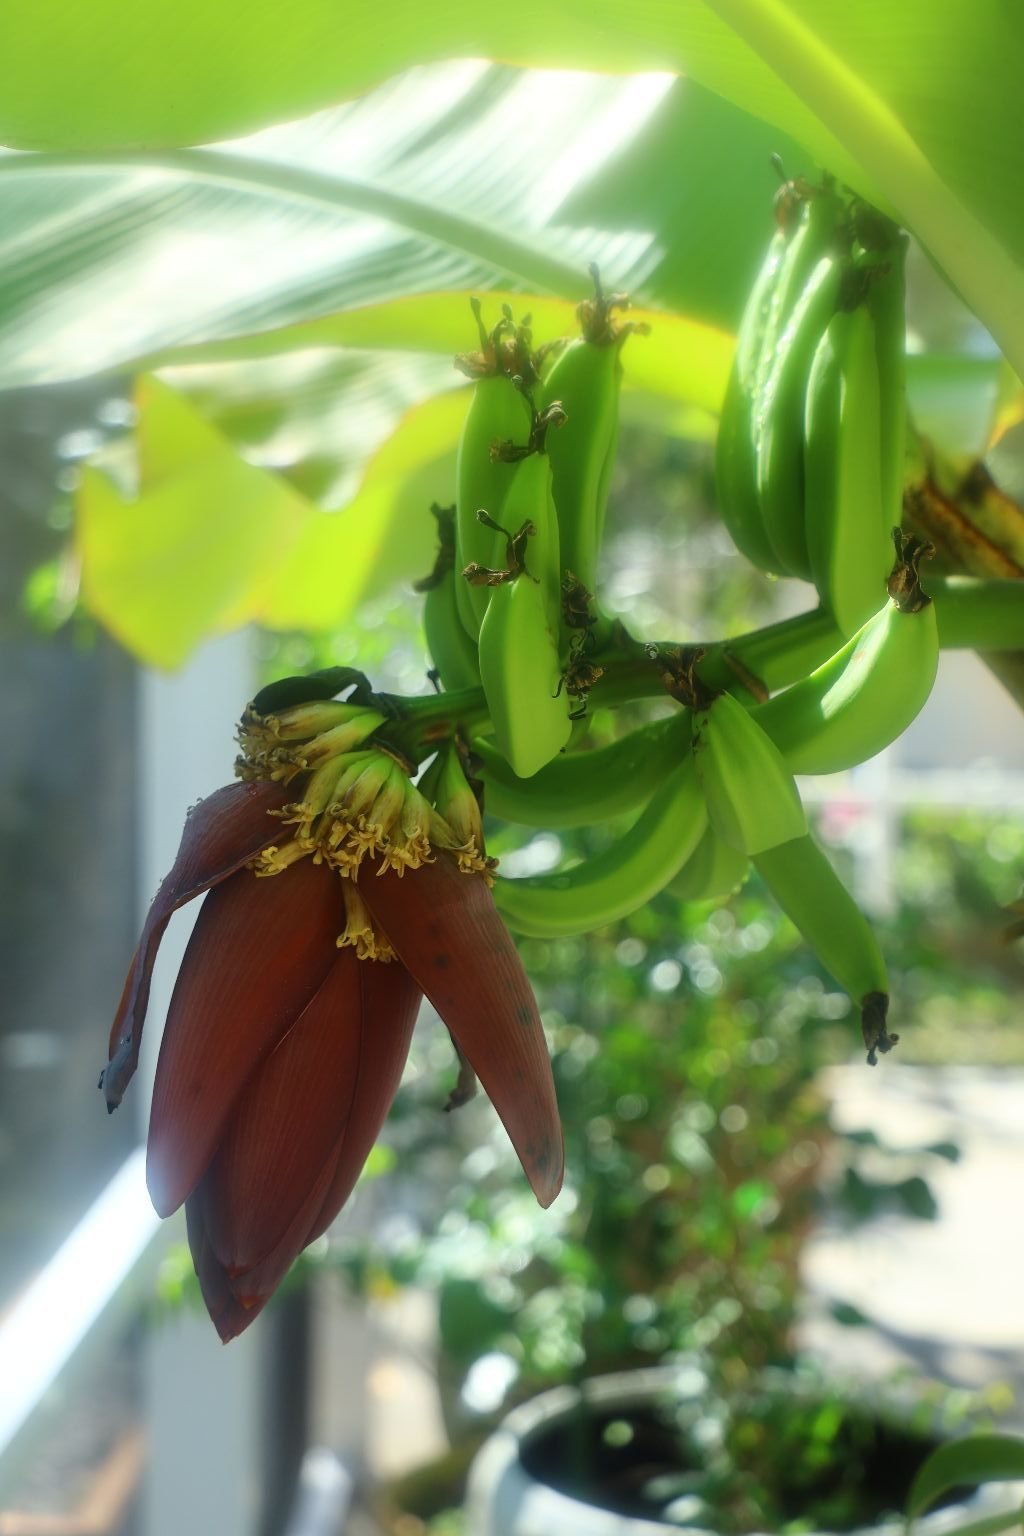

I can’t tell you how exciting it is to watch them grow knowing that we played a role in their health and development.
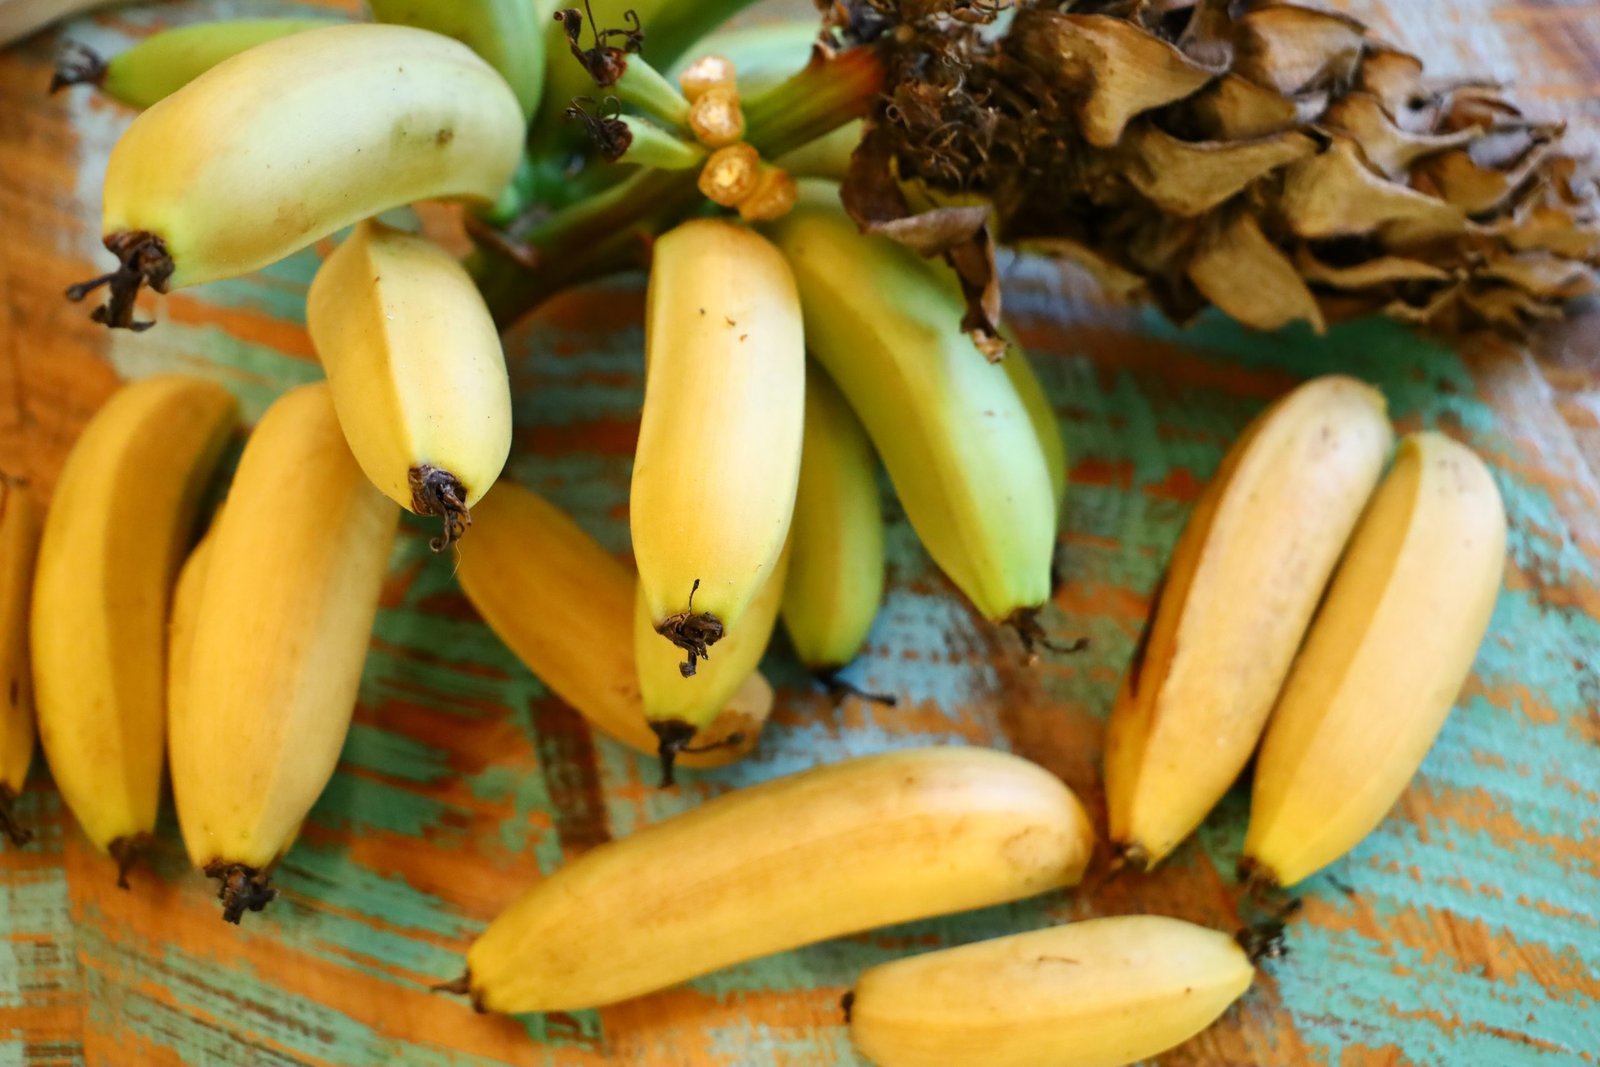
And here is our first harvest. 🙂
May there be many more!

Julie and Gordon
————————————————————-
Hey, You Wanna Healthy Breakfast?
Here it is!
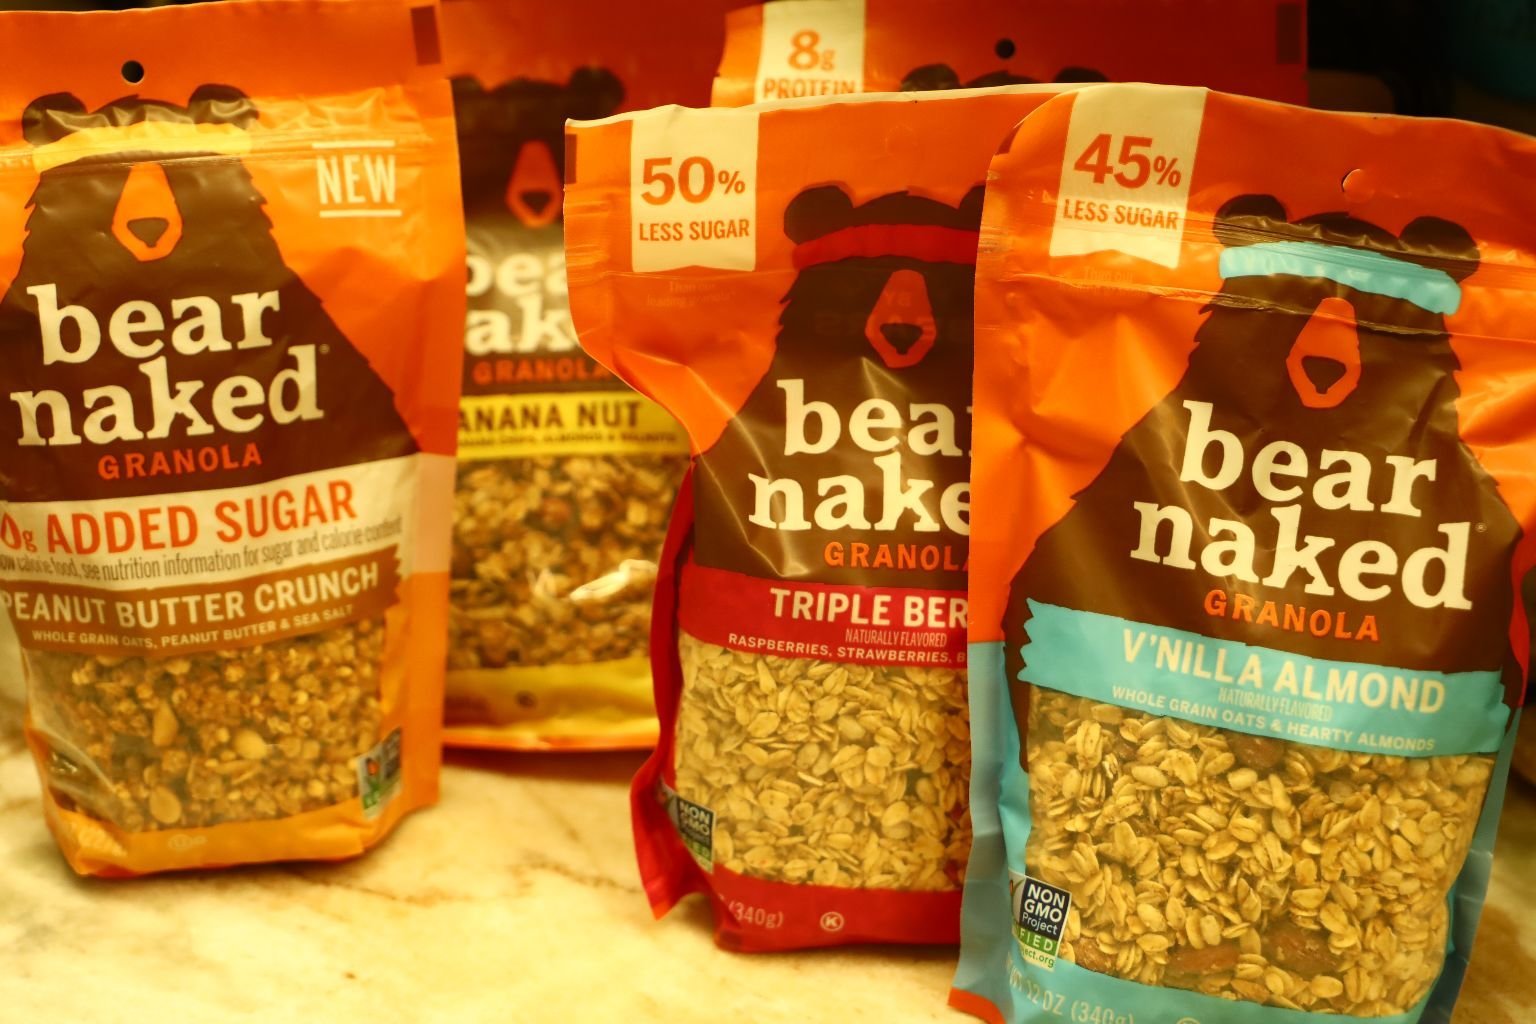
Eat Any One of These Breakfast Cereals and….
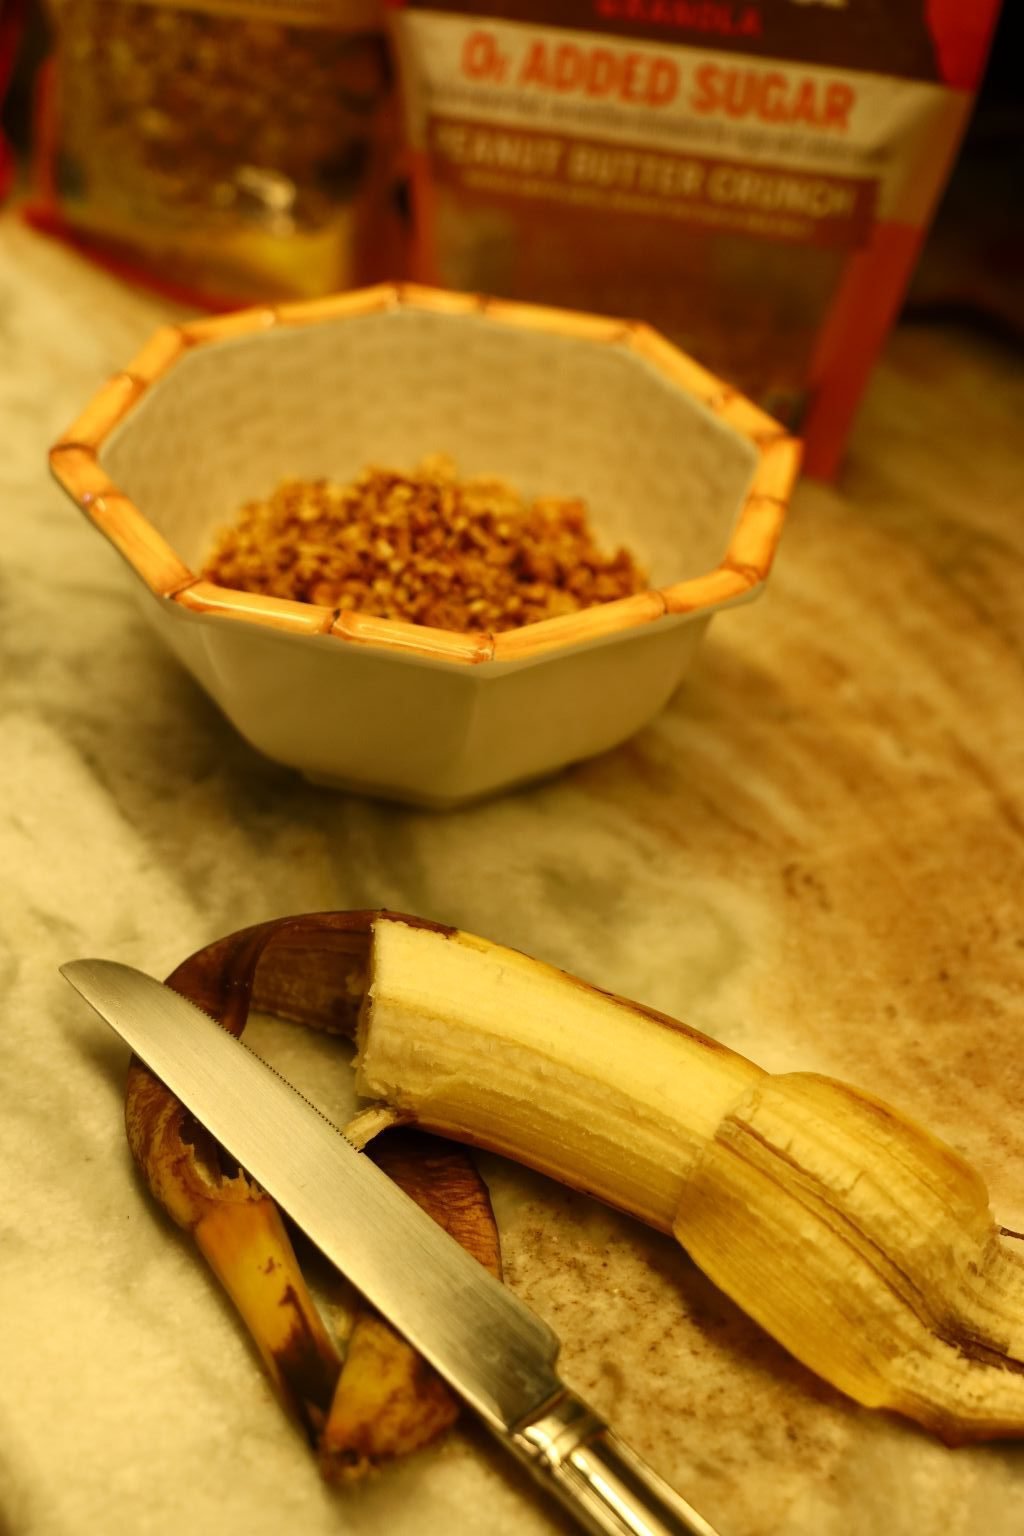
a Banana, and Some Milk. 🙂
———————————————————–
Banana Jack Shakes

Made With our Very own Backyard Bananas
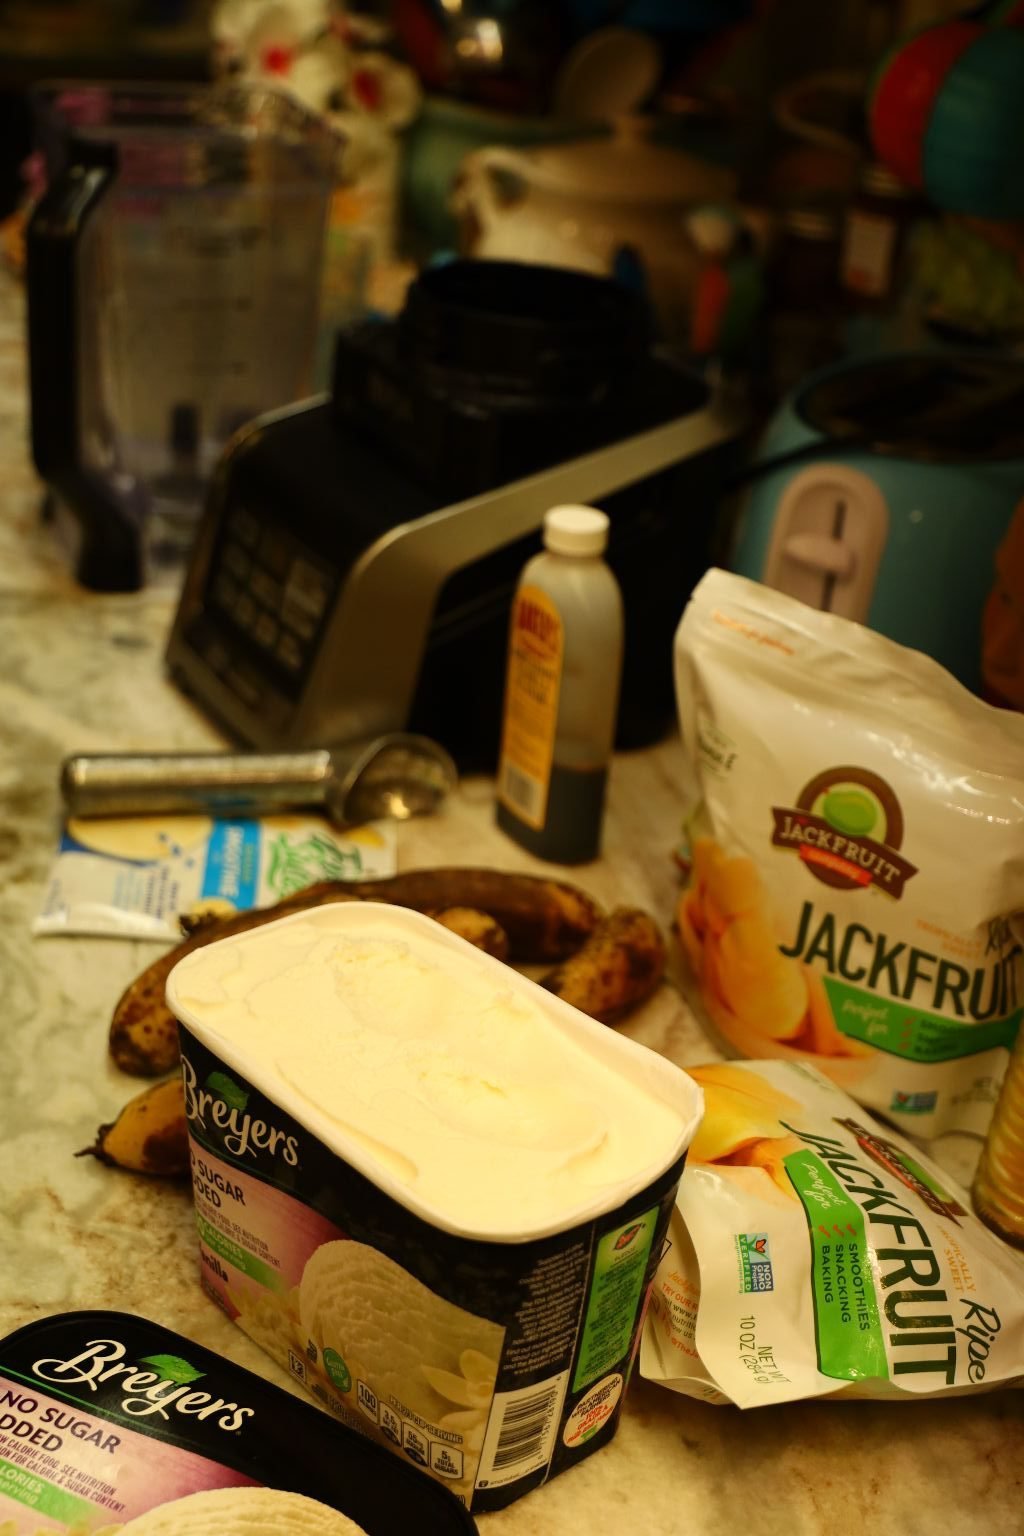
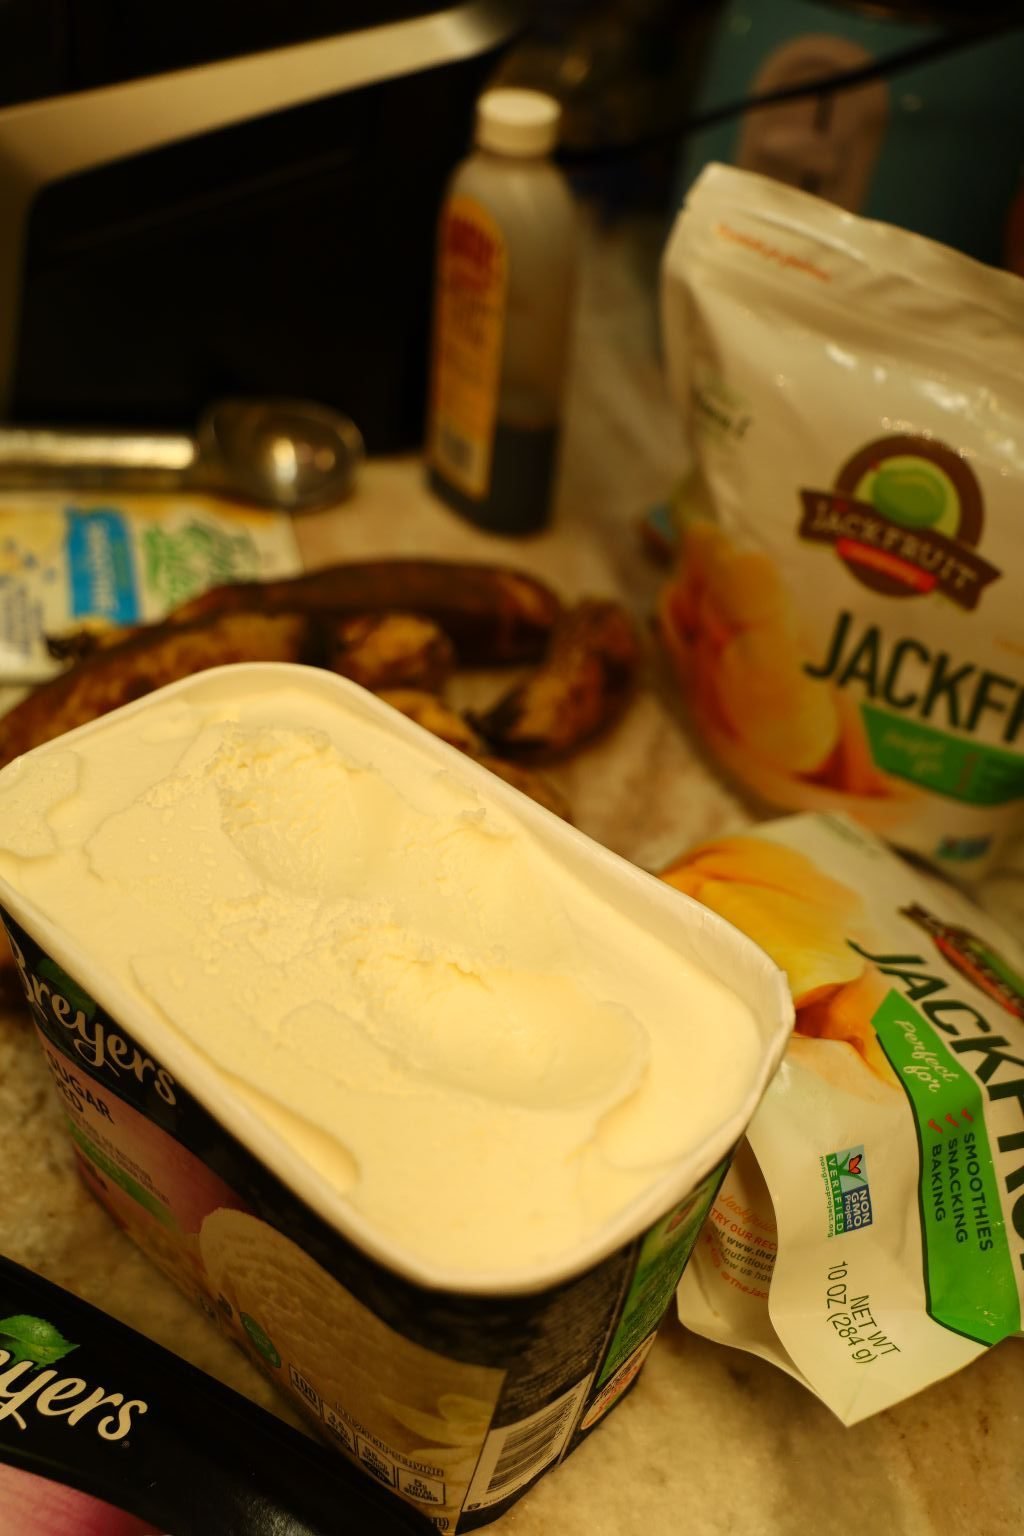
We love Banana Milkshakes!
All you need is a blender to make the best tasting shakes.

This time we decided to pare our Bananas with some frozen Jackfruit that I had purchased a few months ago and it was just laying around in our freezer while I thought of what to eat with it?
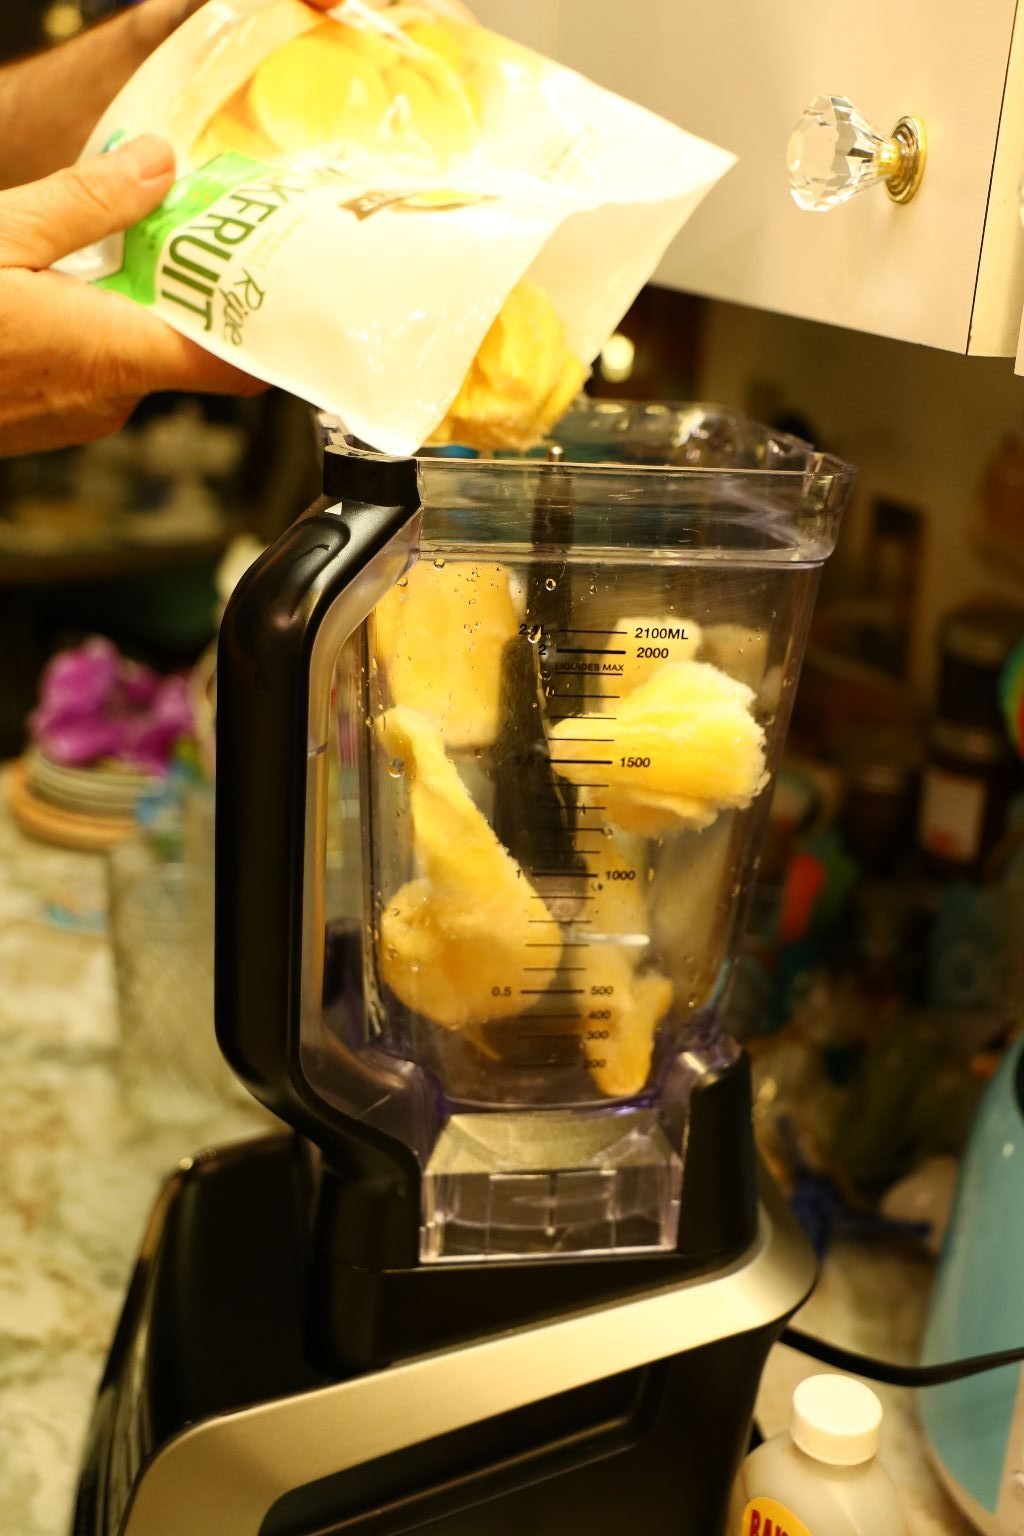
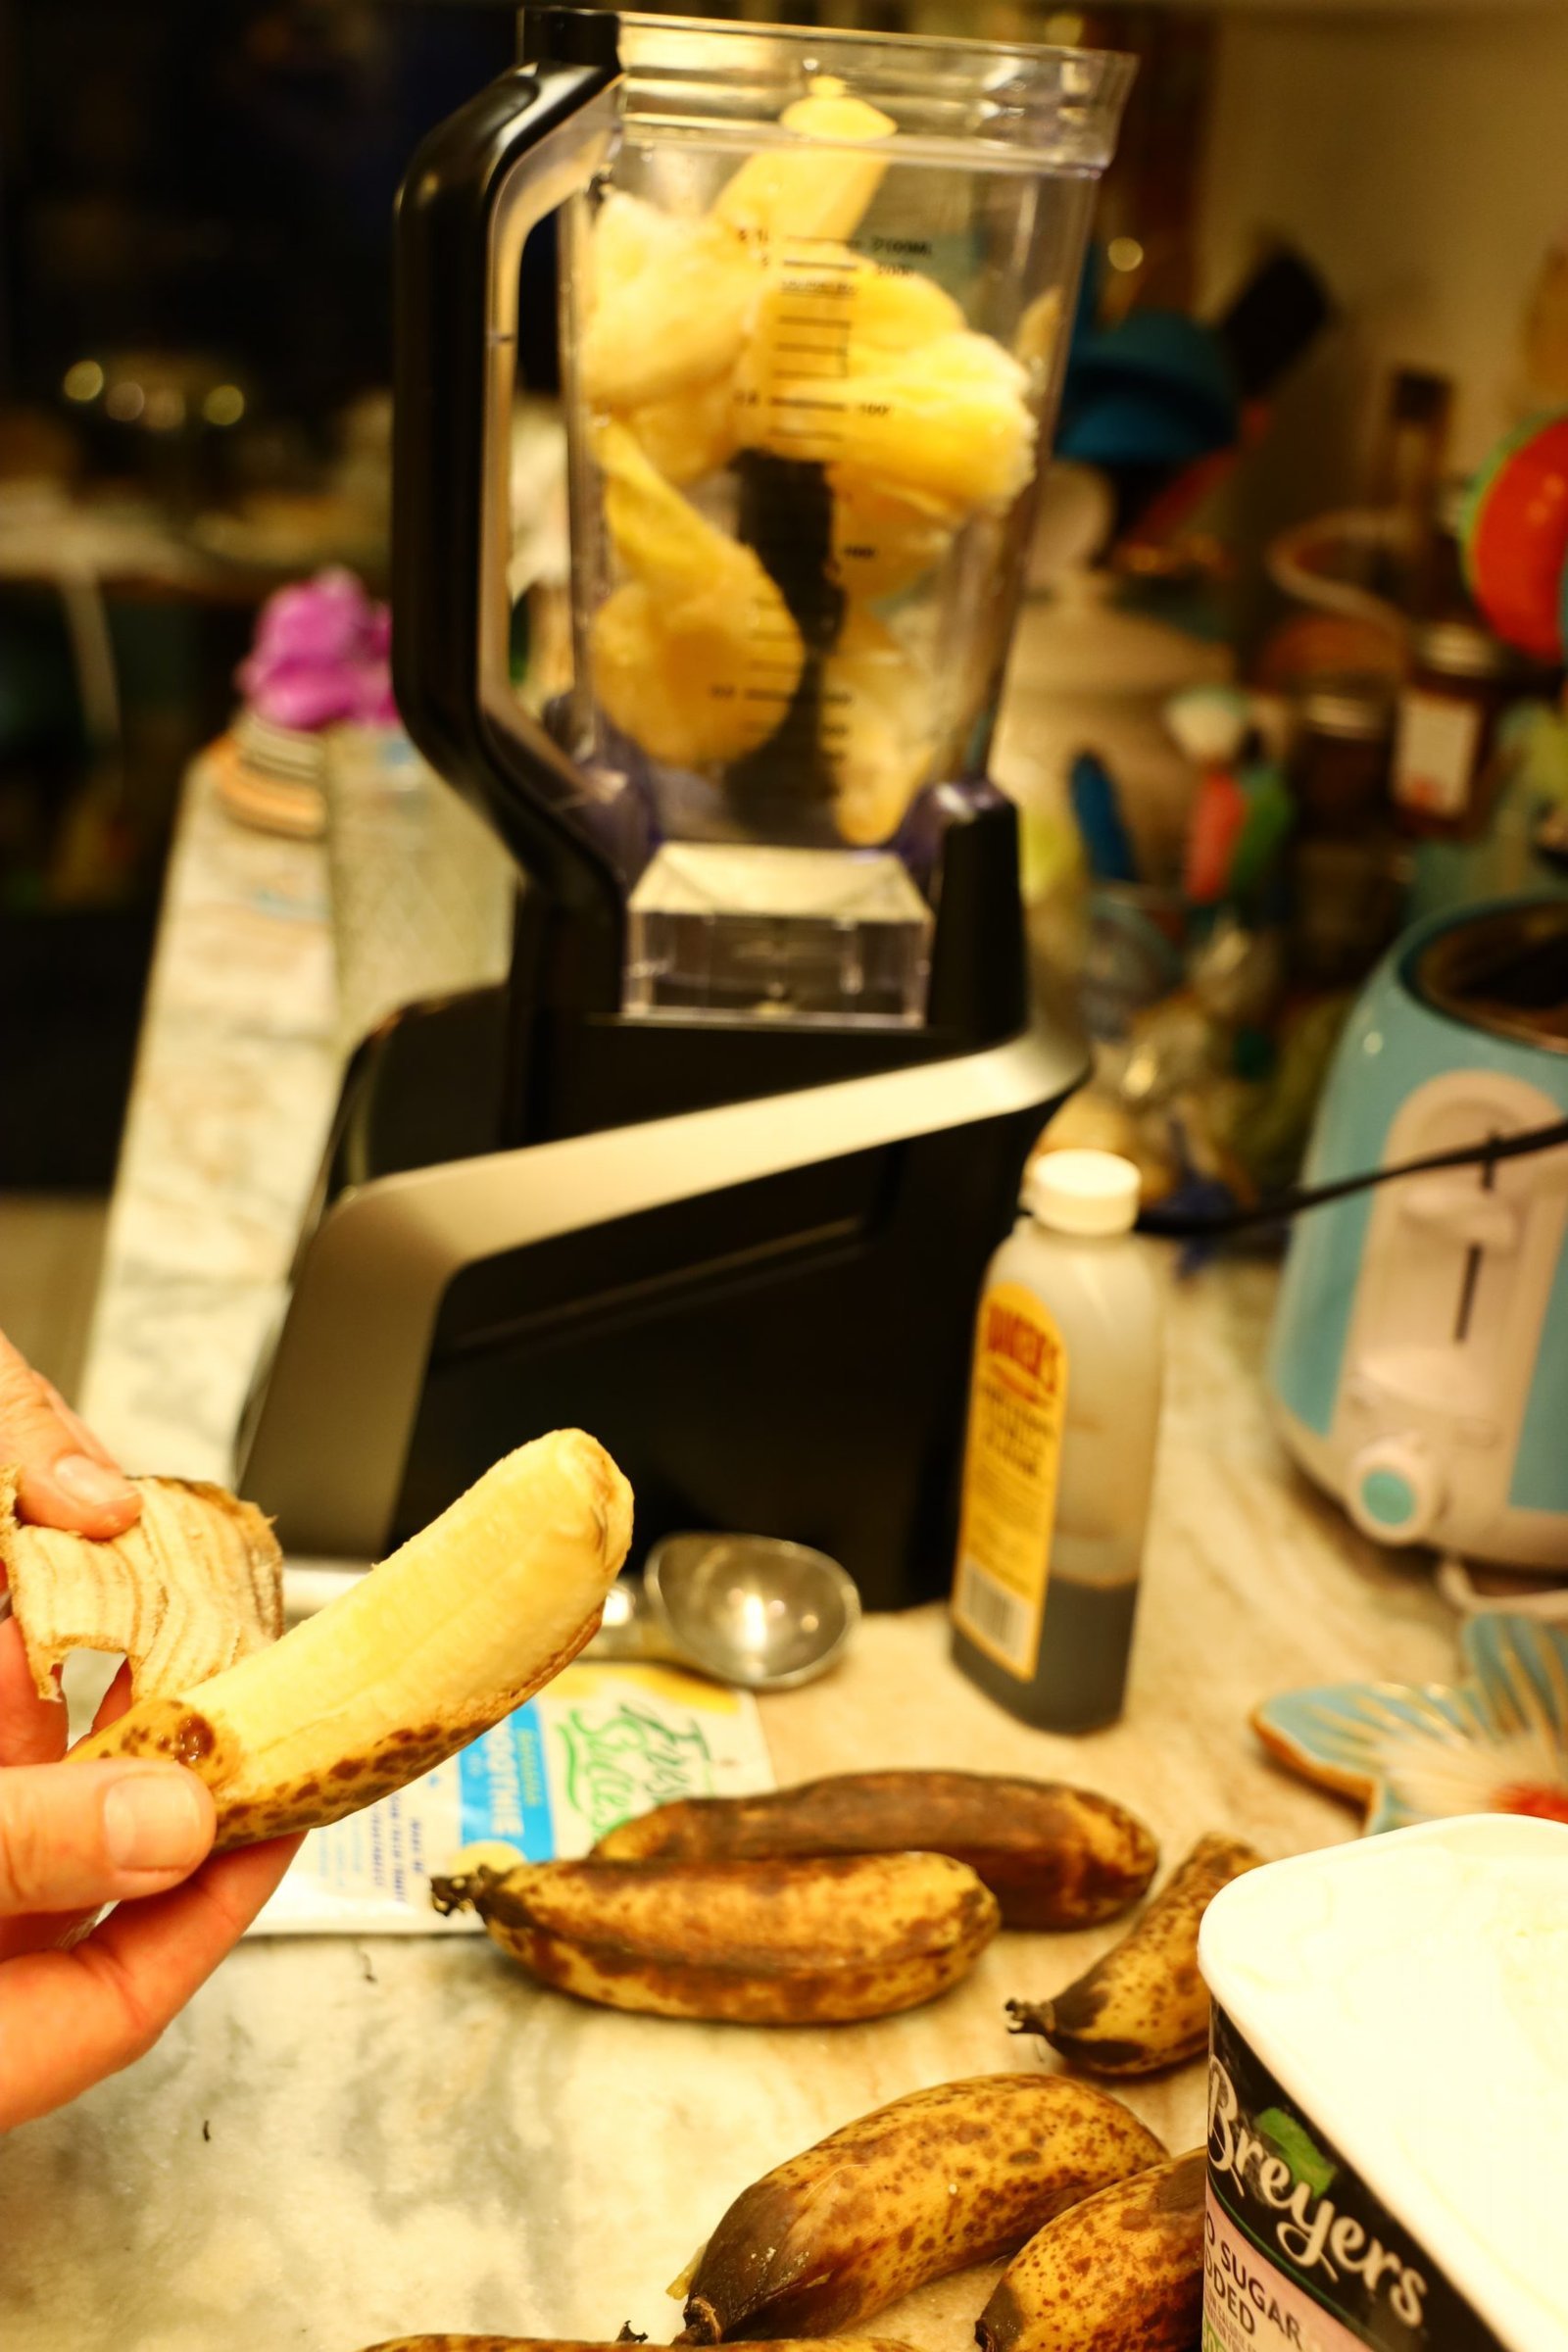
So, in your blender add some frozen or fresh Jackfruit, along with some Bananas.
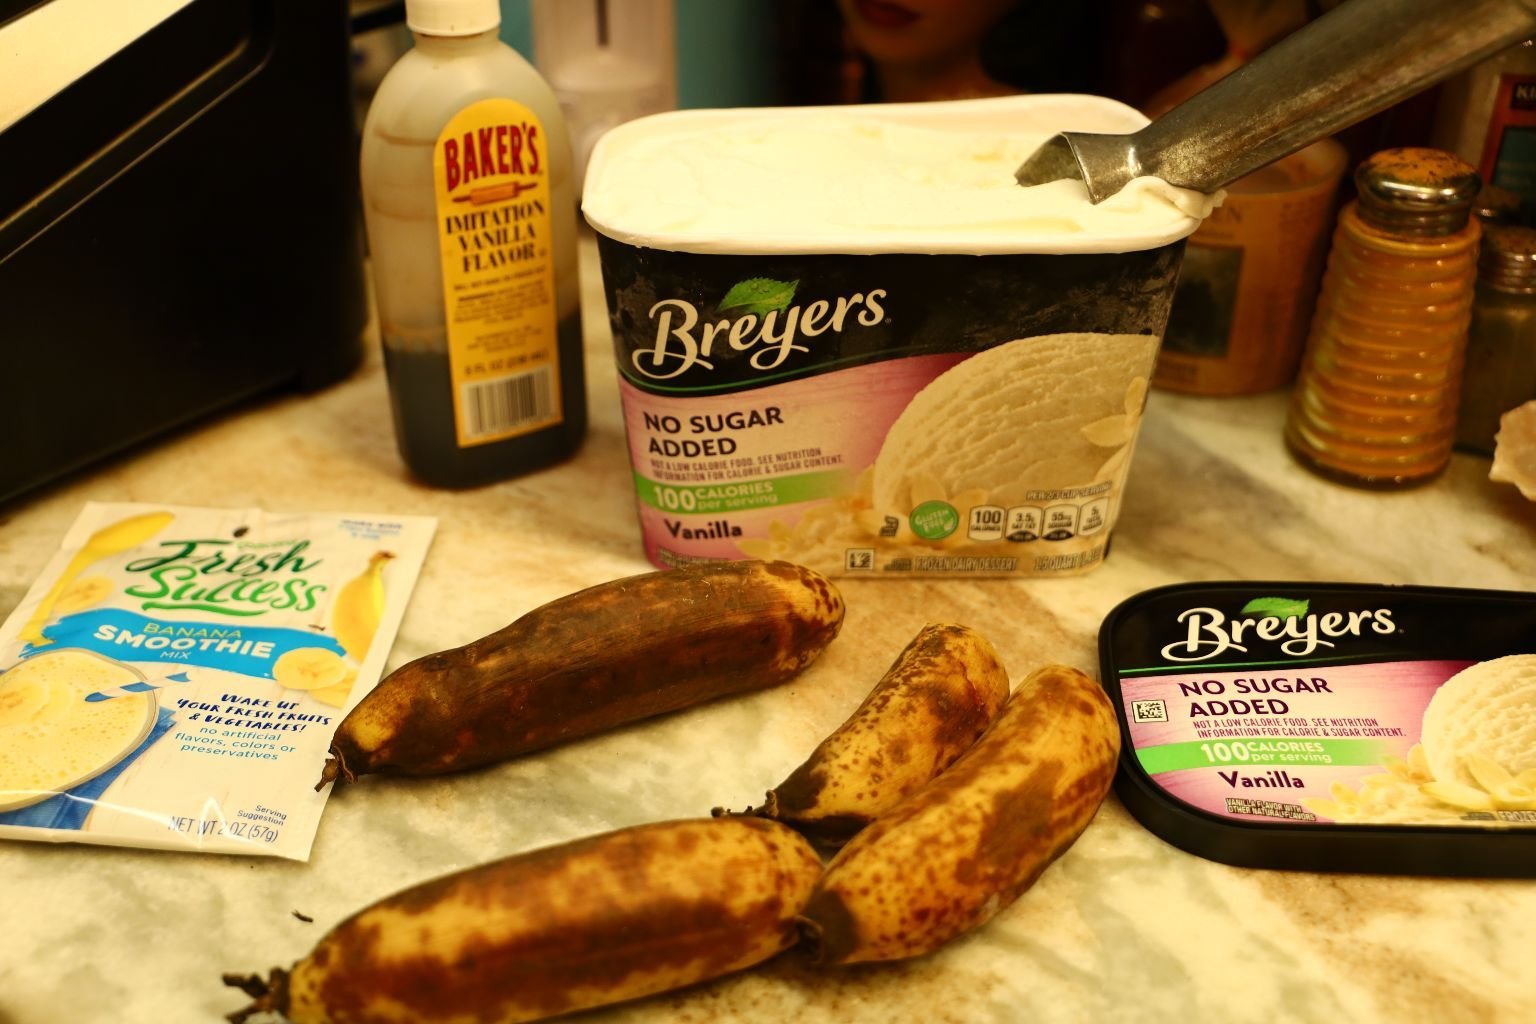
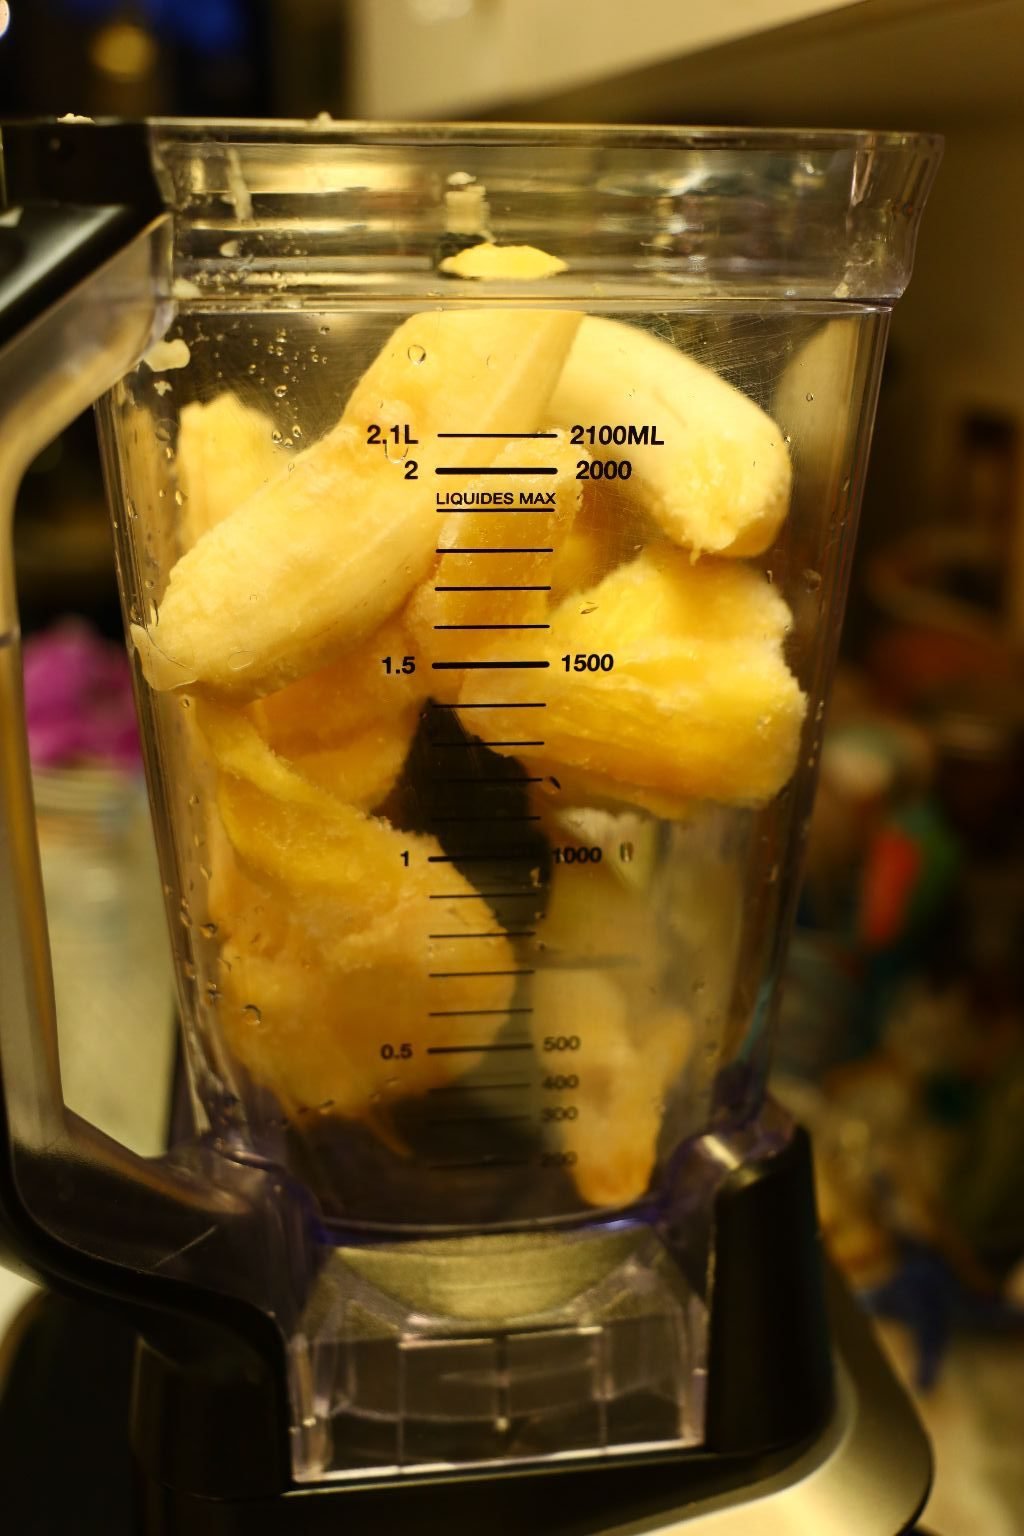
This is an “Eyeball it” kind of Shake.
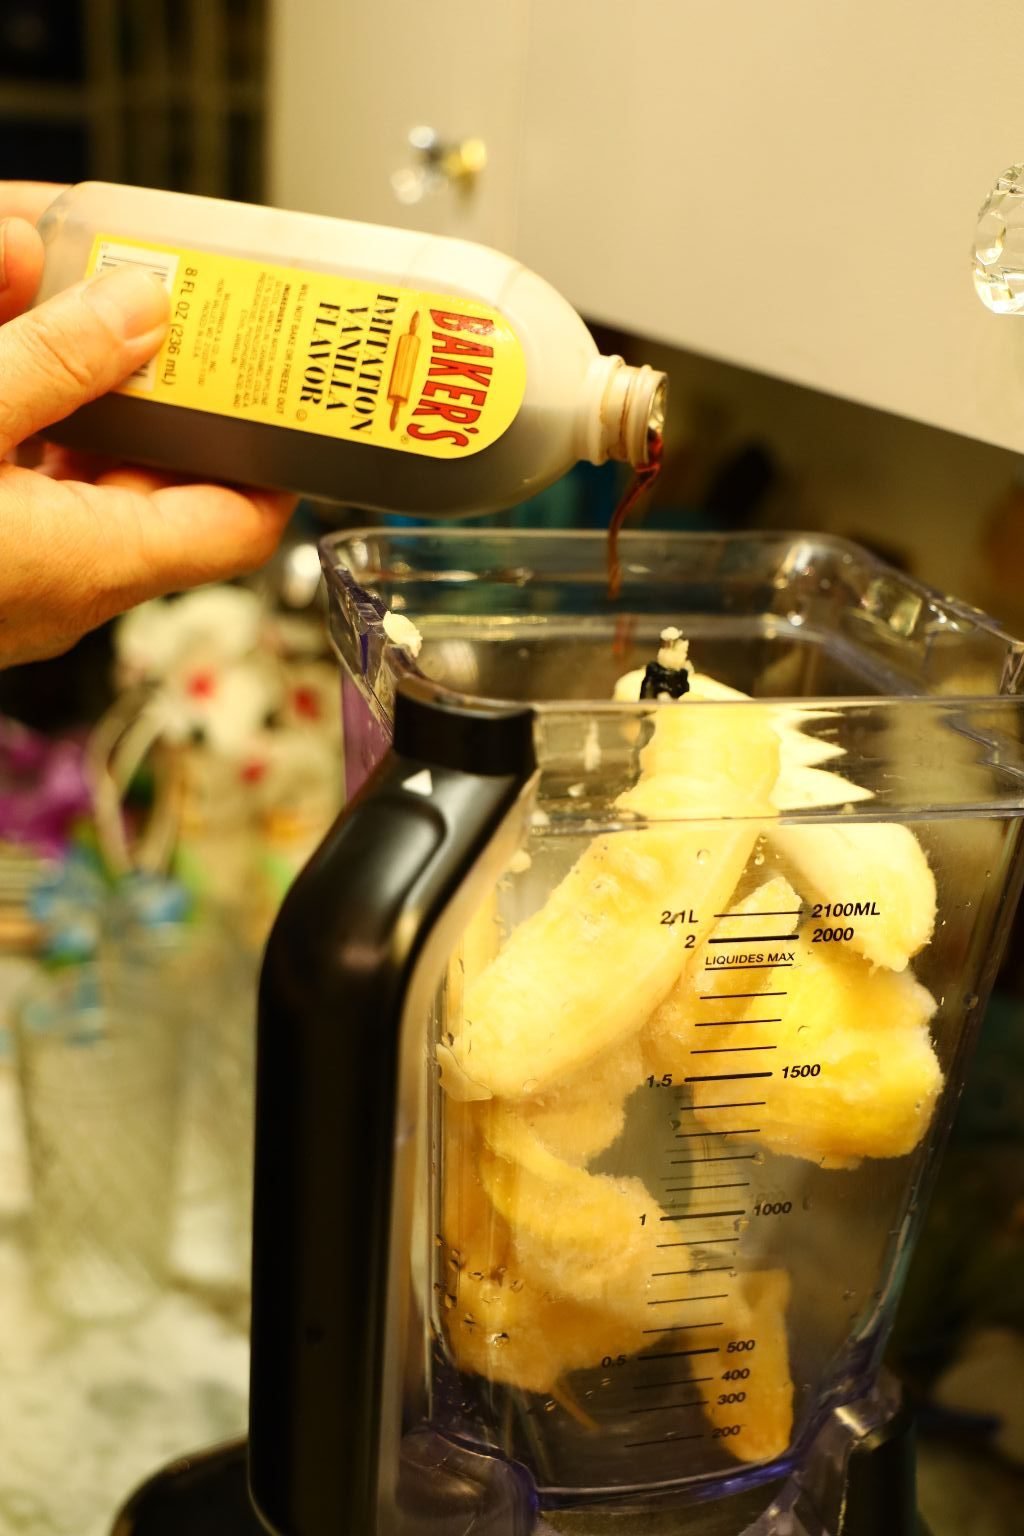
Now add a teaspoon or two of Imitation Vanilla, or Pure Vanilla.
It’s up to you!
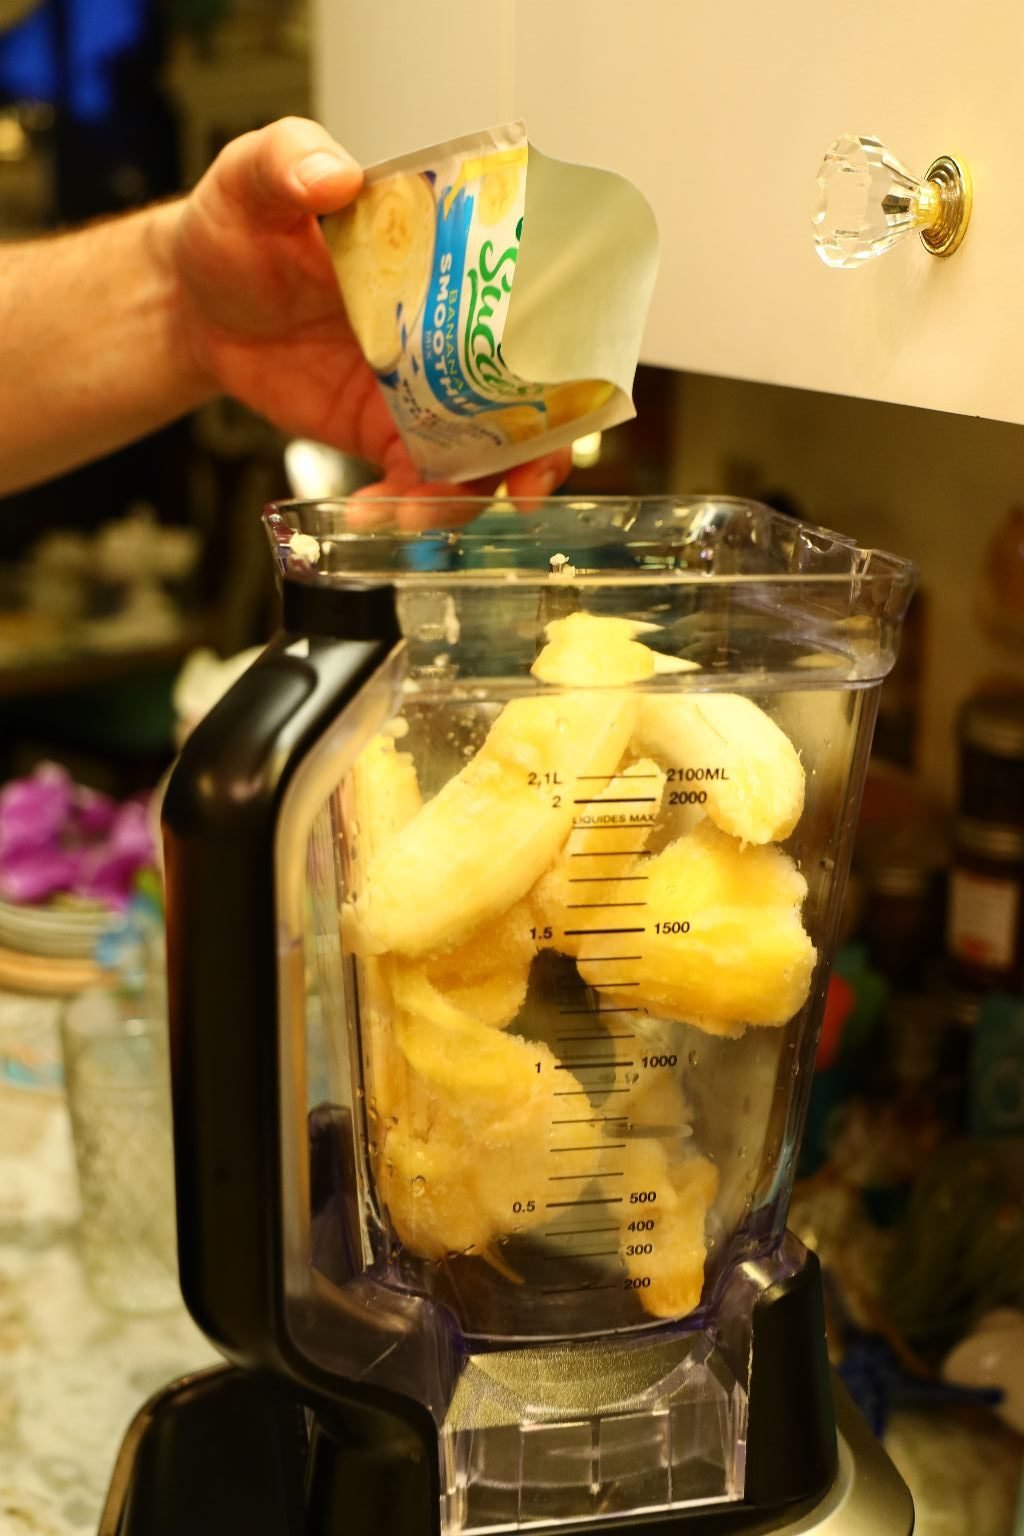
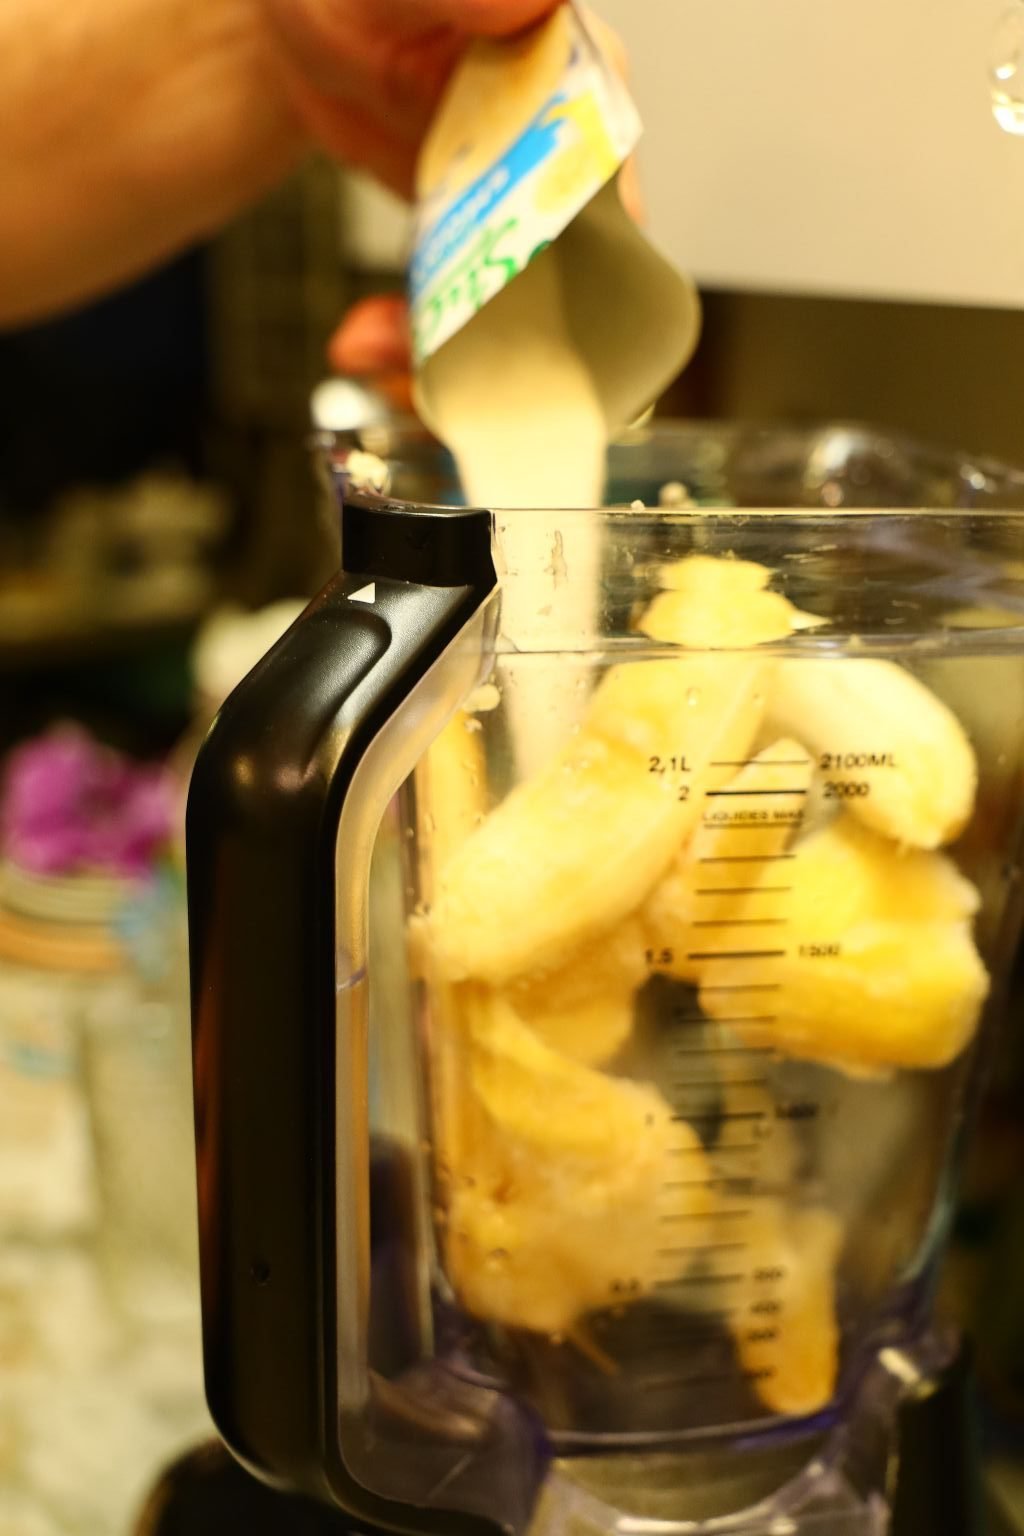
Here Gordon is adding a Banana Milkshake packet that you can purchase at your local grocery store. It’s just more flavor.
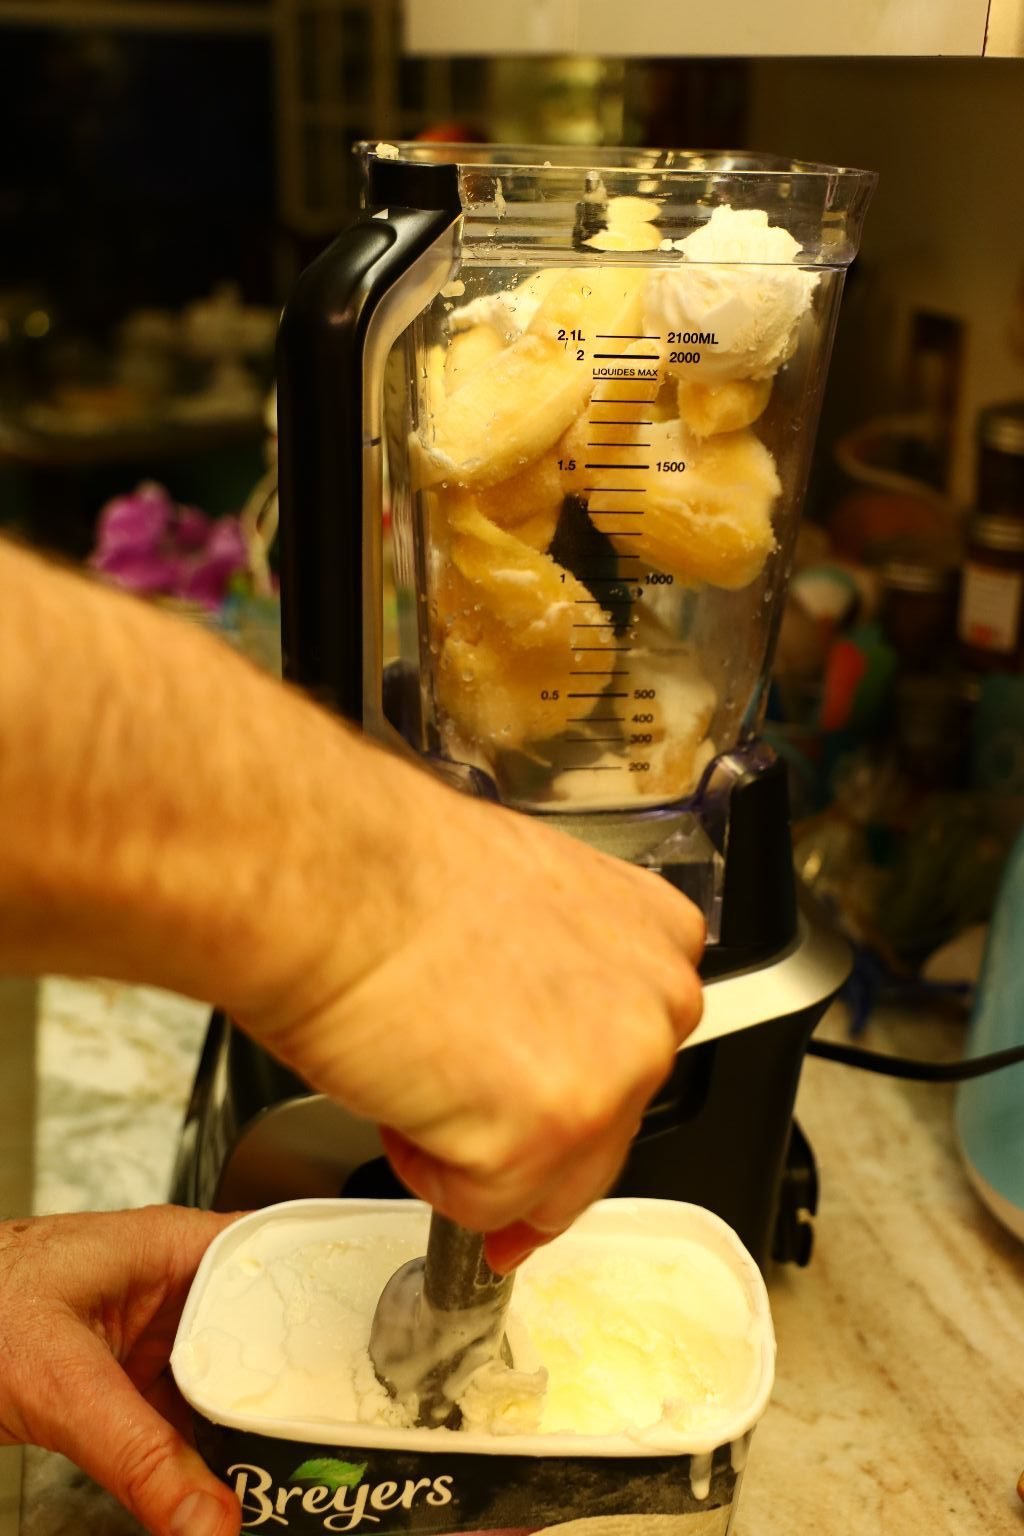
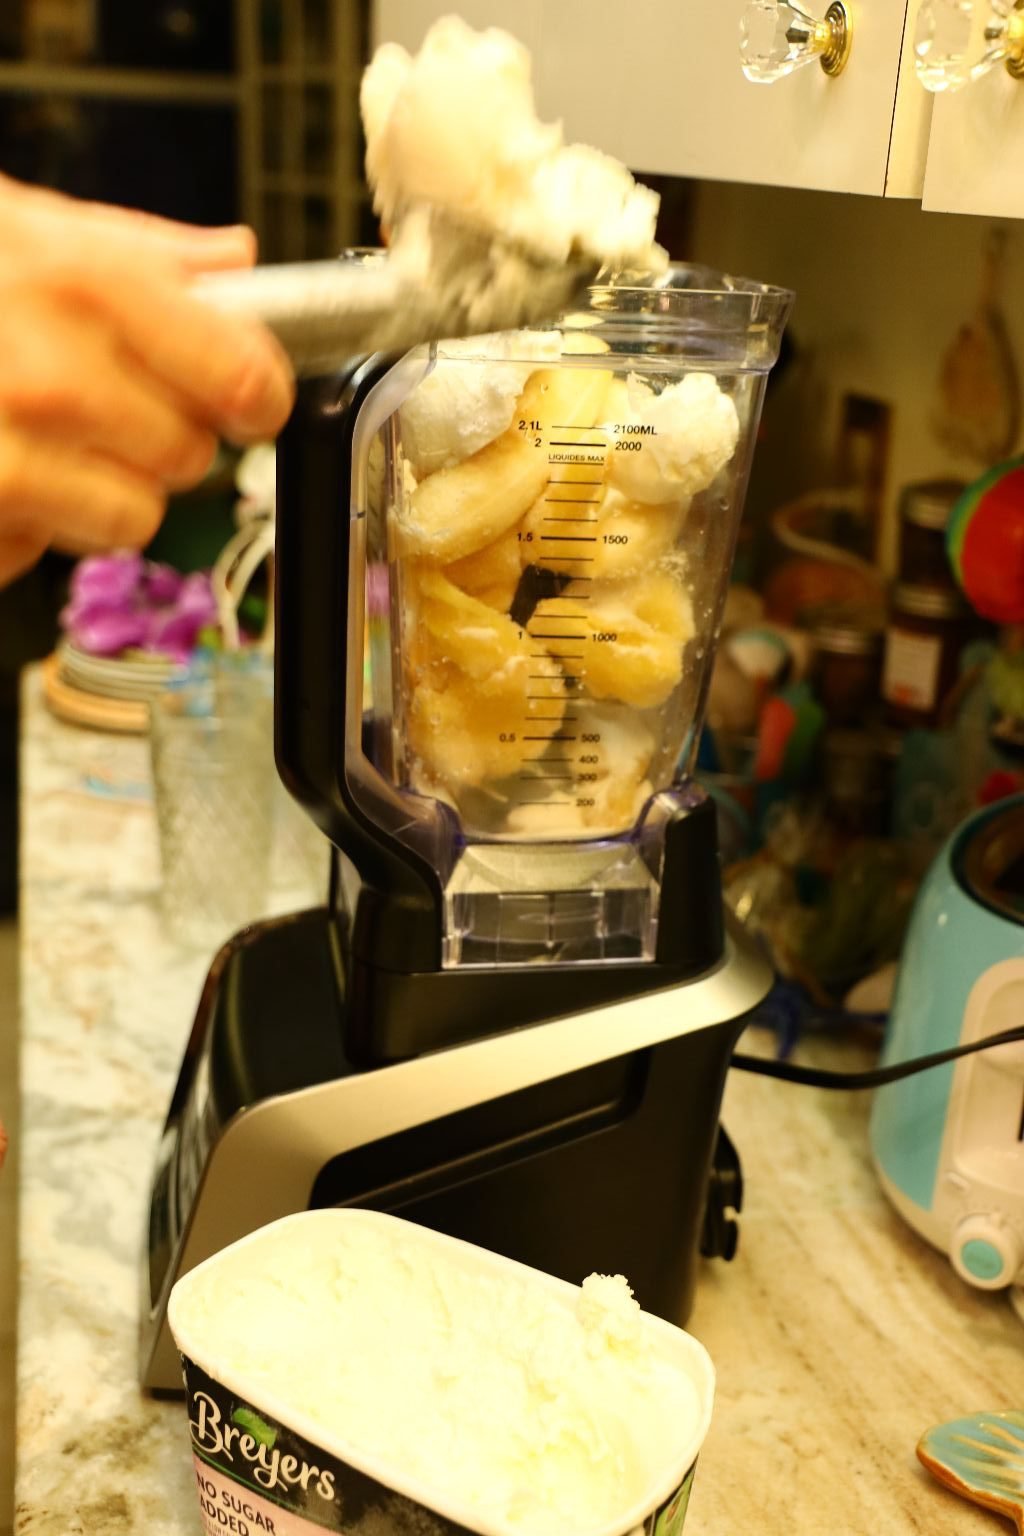
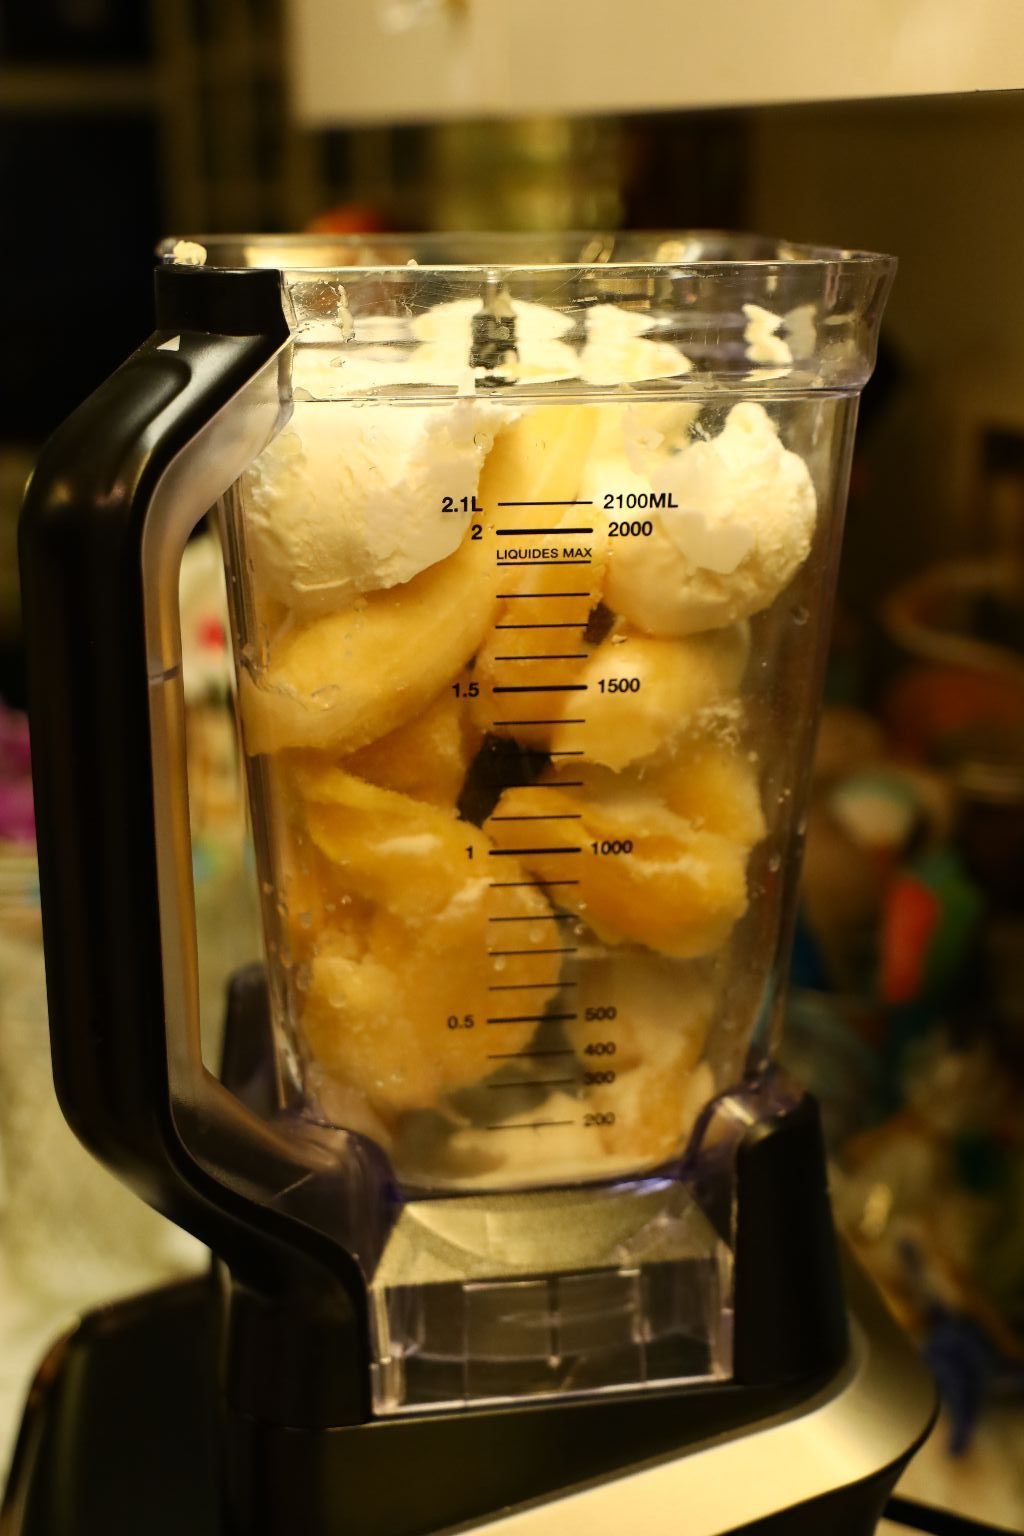
Now It’s Time To Add As Much Vanilla Ice Cream As You Like
—————————————————————–
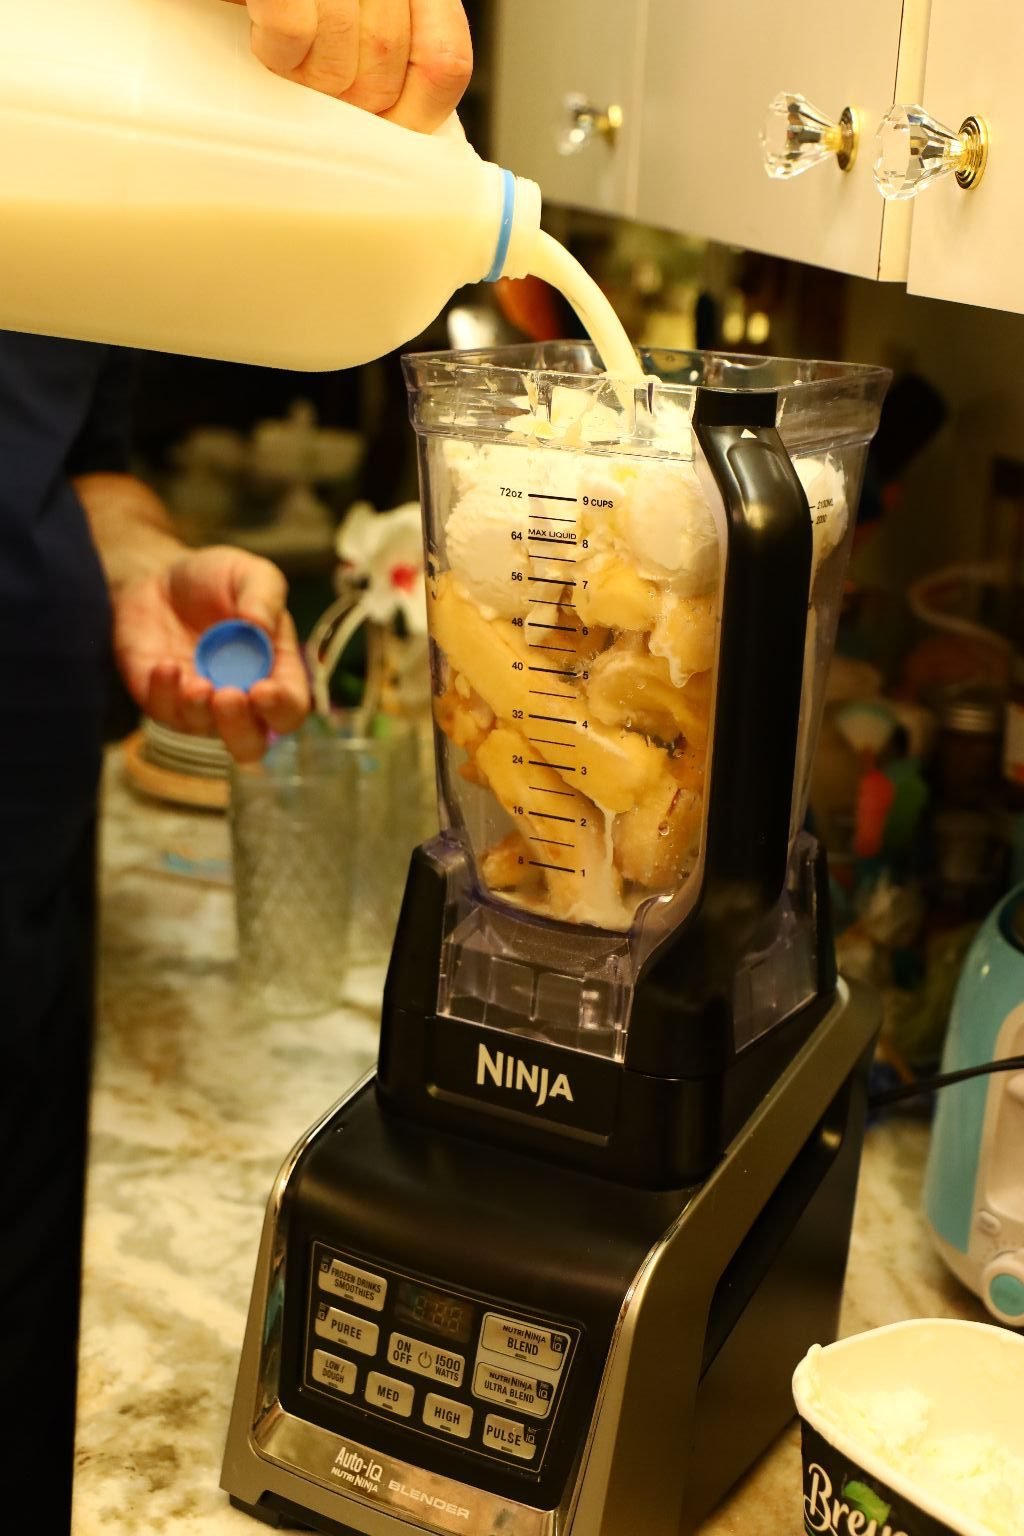
Next, Just Add Some Milk, As Much As You Like
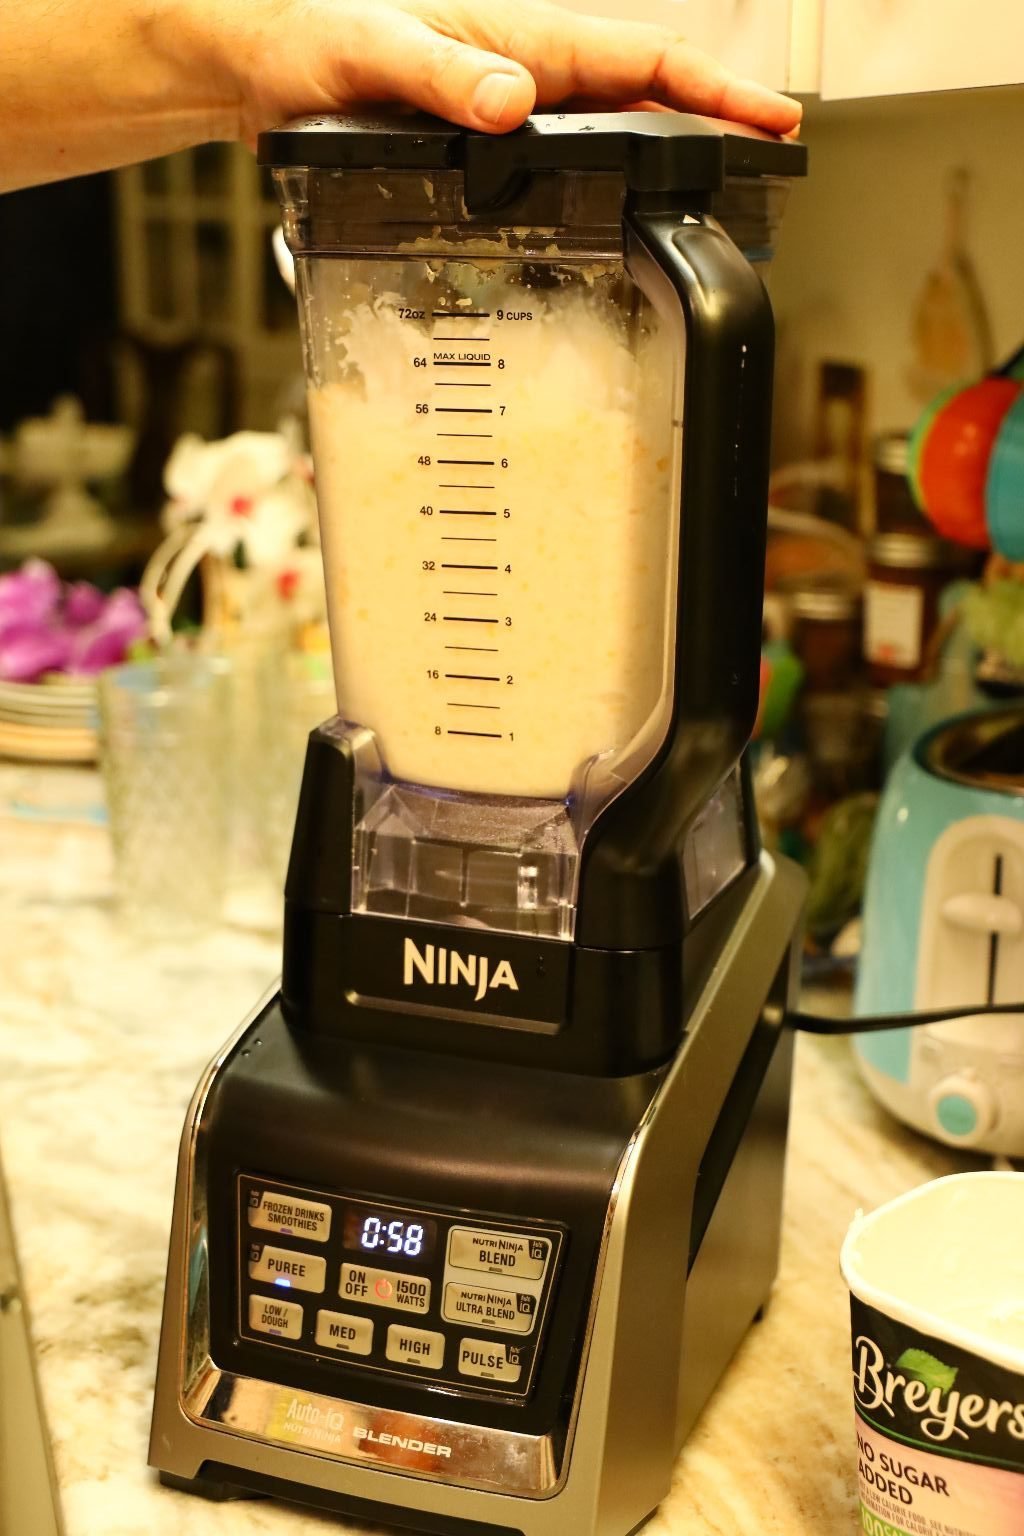
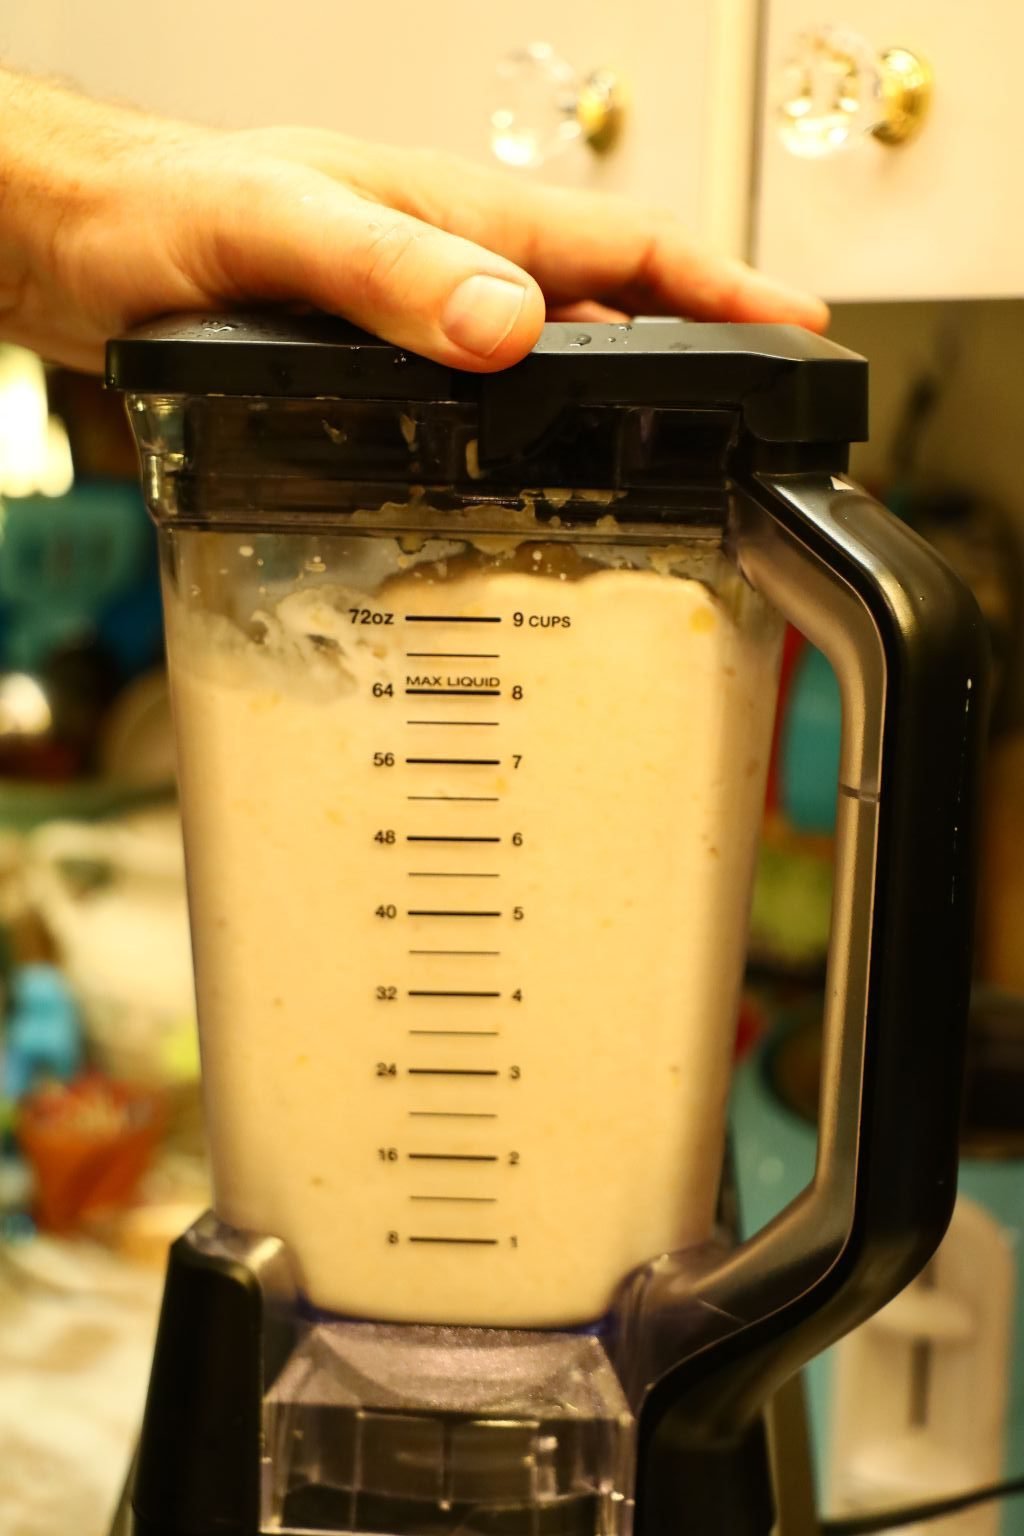
Now BLEND….
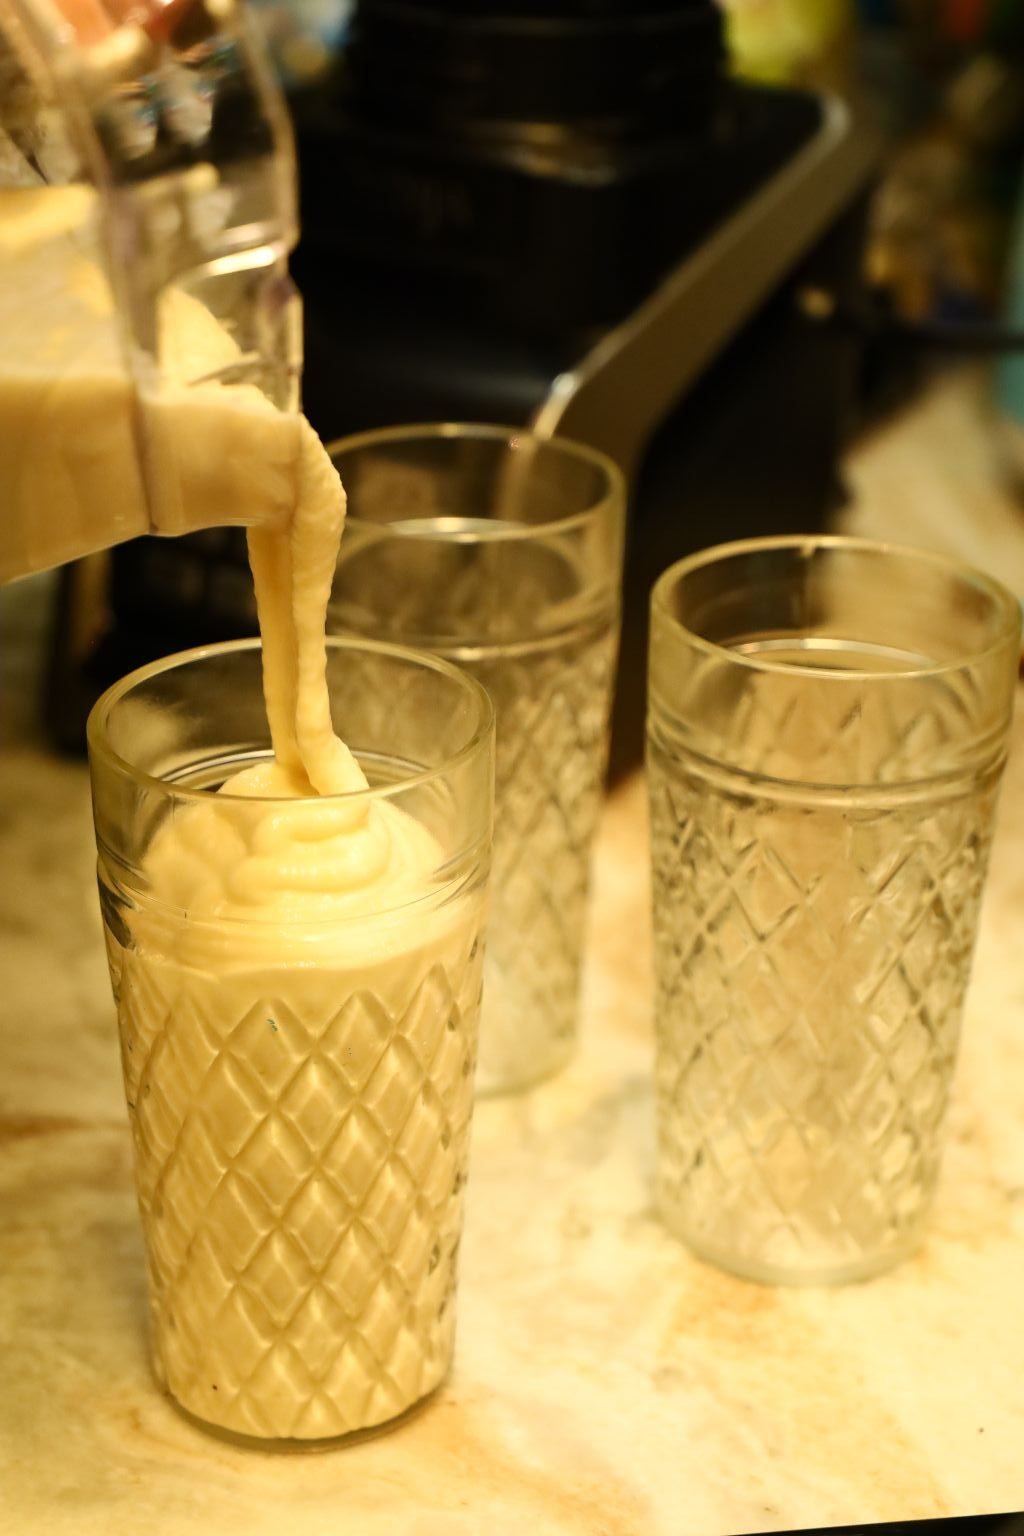
Now, Pour Into Glasses and Enjoy!
———————————————————————–

Star Fruit

Our Banana Mer-Muffins For Breakfast
———————————————————–
Beautiful Cake Toppers

Ingredients:

4-5 Very Ripe Bananas
(I keep old Bananas in the freezer for just this purpose. If you do the same then let them thaw first.)
2 1/2 Cups All Purpose Flour
1/2 Cup Brown Sugar, Packed in Cup (I used Splenda Brown Sugar)
1/2 Cup Sugar
1 t. Salt
1 t. Baking Soda
1 T. Baking Powder
2 t. Ground Allspice
1/3 Cup Whole Milk, or 1% Milk
1/3 Cup Buttermilk
1/3 Cup Ricotta Cheese
1 Large Egg
1 Egg White from an Egg
2 T. Canola Oil
1 t. Vanilla Extract
———————————————————-


You Will Need Your Mixer For This


Allowing My Bananas to Thaw


Get Out a Large Mixing Bowl
Add Your All Purpose Flour, Brown Sugar, Sugar, Salt, Baking Powder, Baking Soda, and Ground Allspice.


———————————————————————


Adding All The Dry Ingredients


Whisk All The Dry Ingredients Together
—————————————————————

And Now For The Wet Ingredients
(Ignore the sushi in the photo top left.)


In the bowl to your mixer place your Bananas and Buttermilk.
Mix until combined.

Like so.


Adding The 1% Milk and the Ricotta Cheese


Adding My Egg and Egg white


Now Add the Canola Oil and Vanilla Extract

Mix All The Wet Ingredients Together Until Blended


You Can Use A Whisk For This
Then Add The Wet to The Dry and Mix
—————————————————————–

Cupcake Tins and Pam Cooking Spray
(Spray each tin with the cooking oil spray.)
I chose these tins because I wanted something a little bit wider than a regular cupcake one. Plus they are sturdier than the flimsy cupcake cups and I wanted them to travel well.

Pre-Heat Your Oven to 375F.

FILL TO THE RIM!
I ran out of my sturdy tins and had to scavenge around for the extras.

Bake For About 20 Minutes
Cupcakes are done when you can insert a toothpick into the center and it comes out clean.

Allowing To Cool on the Rack
———————————————————————–
Going Plantains
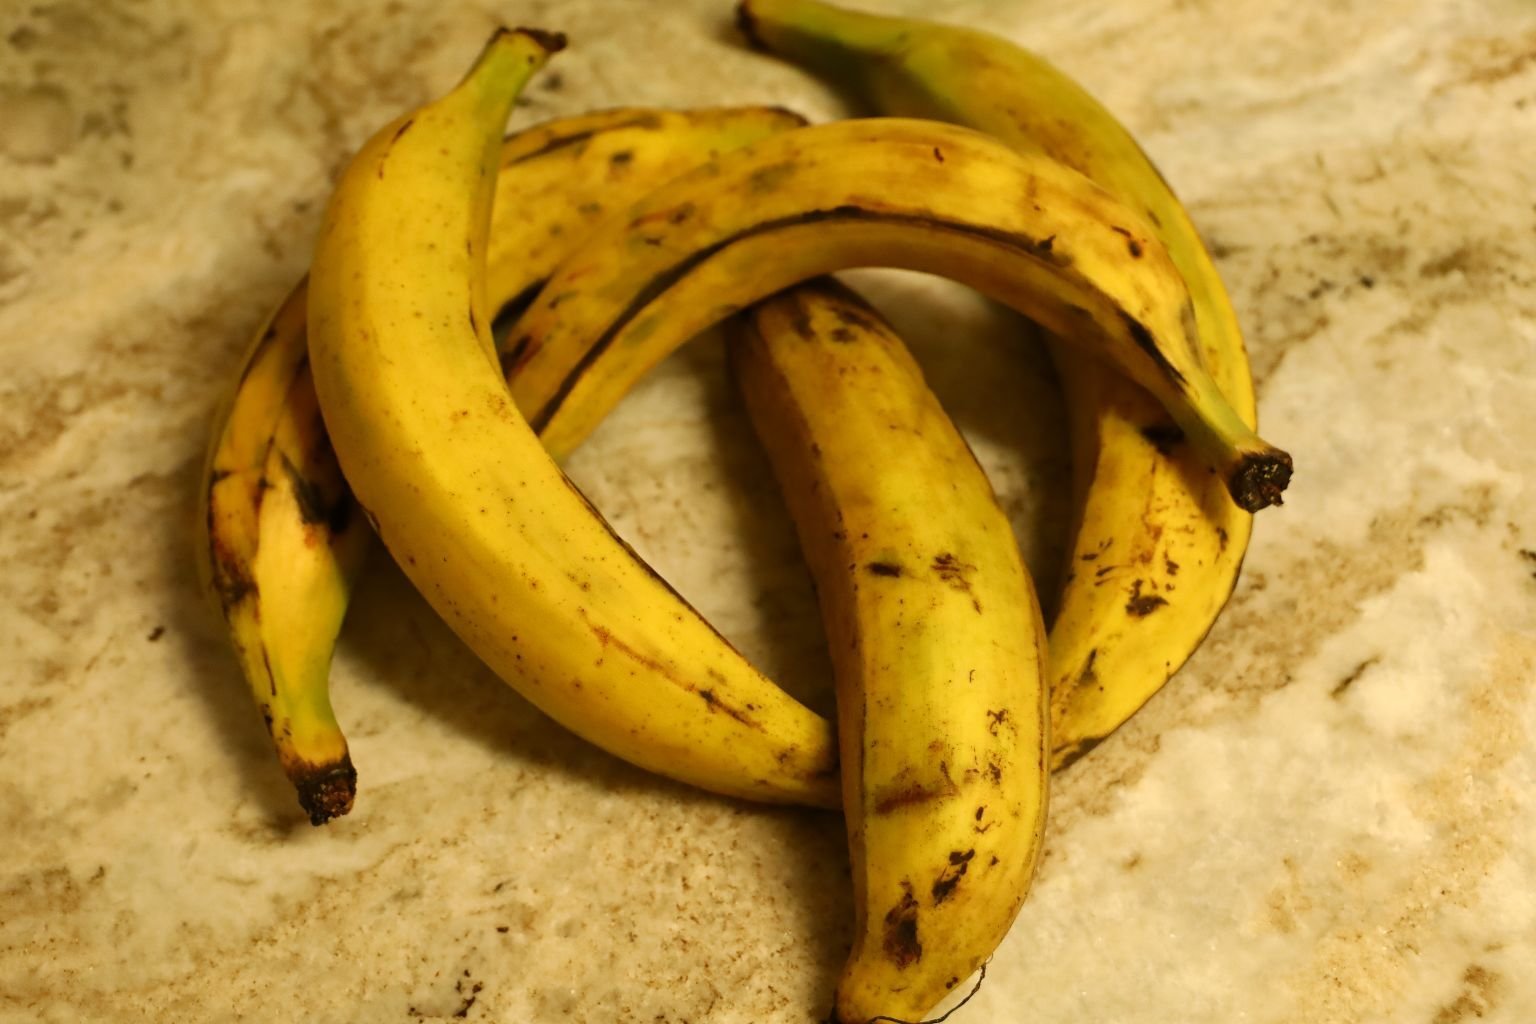
Plantains tend to be less sweet than Bananas. They are also larger than Bananas. In some recipes Plantains tend to work better than Bananas. For example, in this recipe we prefer Plantains.

—————————————————————–
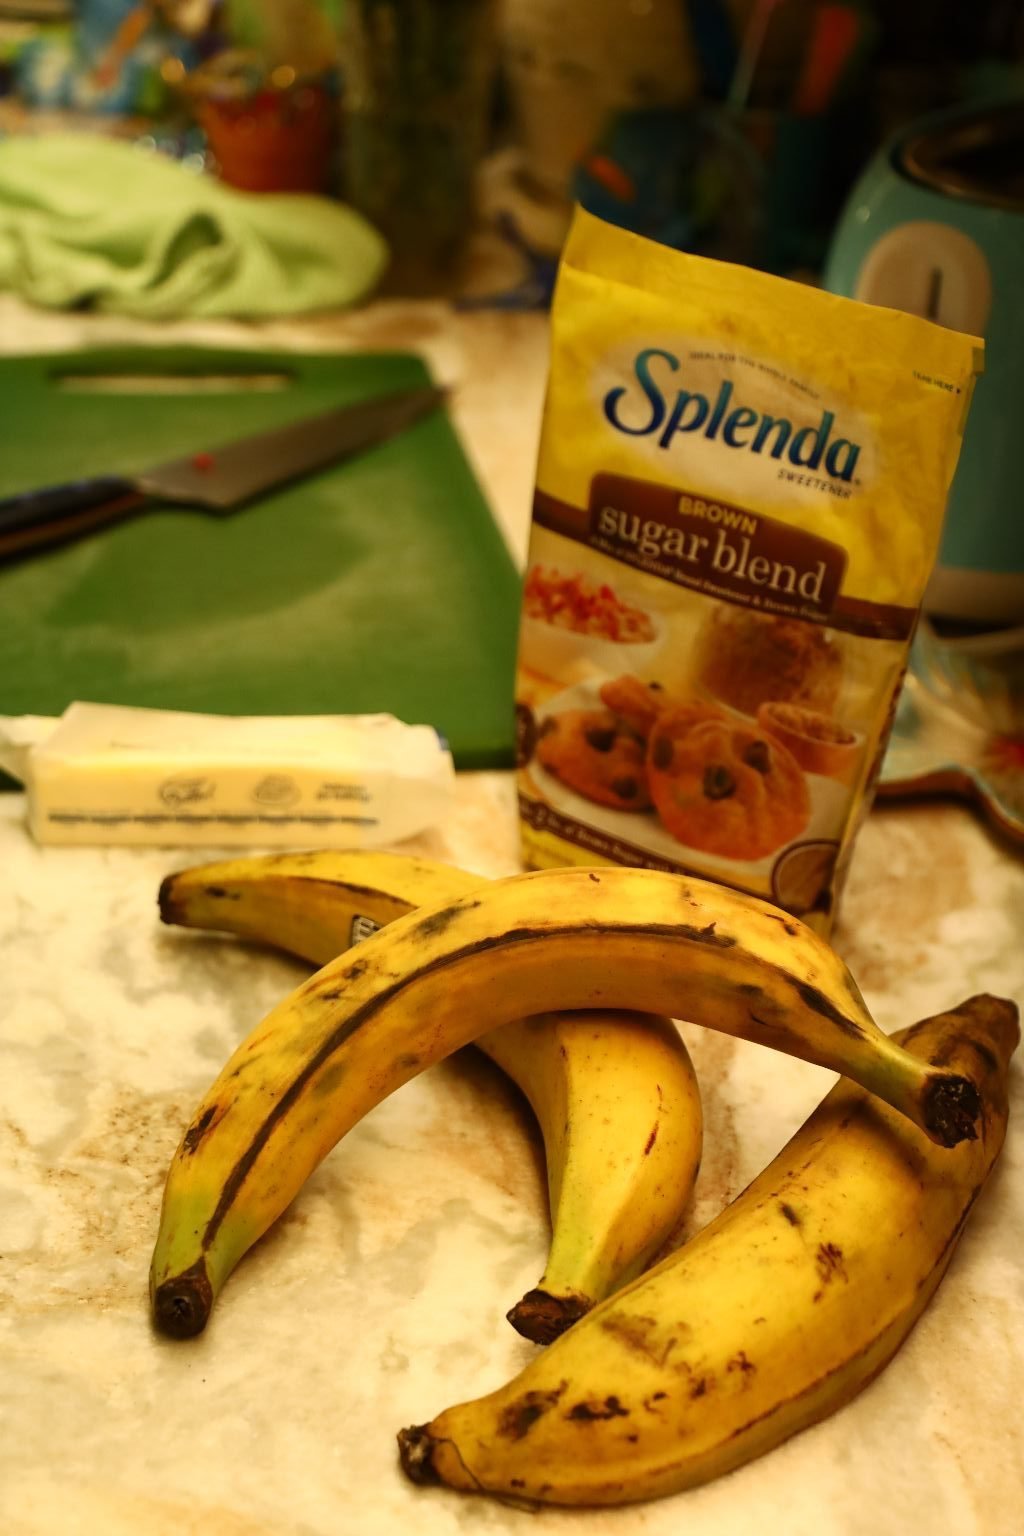
Ingredients:
Ripe Plantains
Butter
Splenda Brown Sugar, or any Brown Sugar
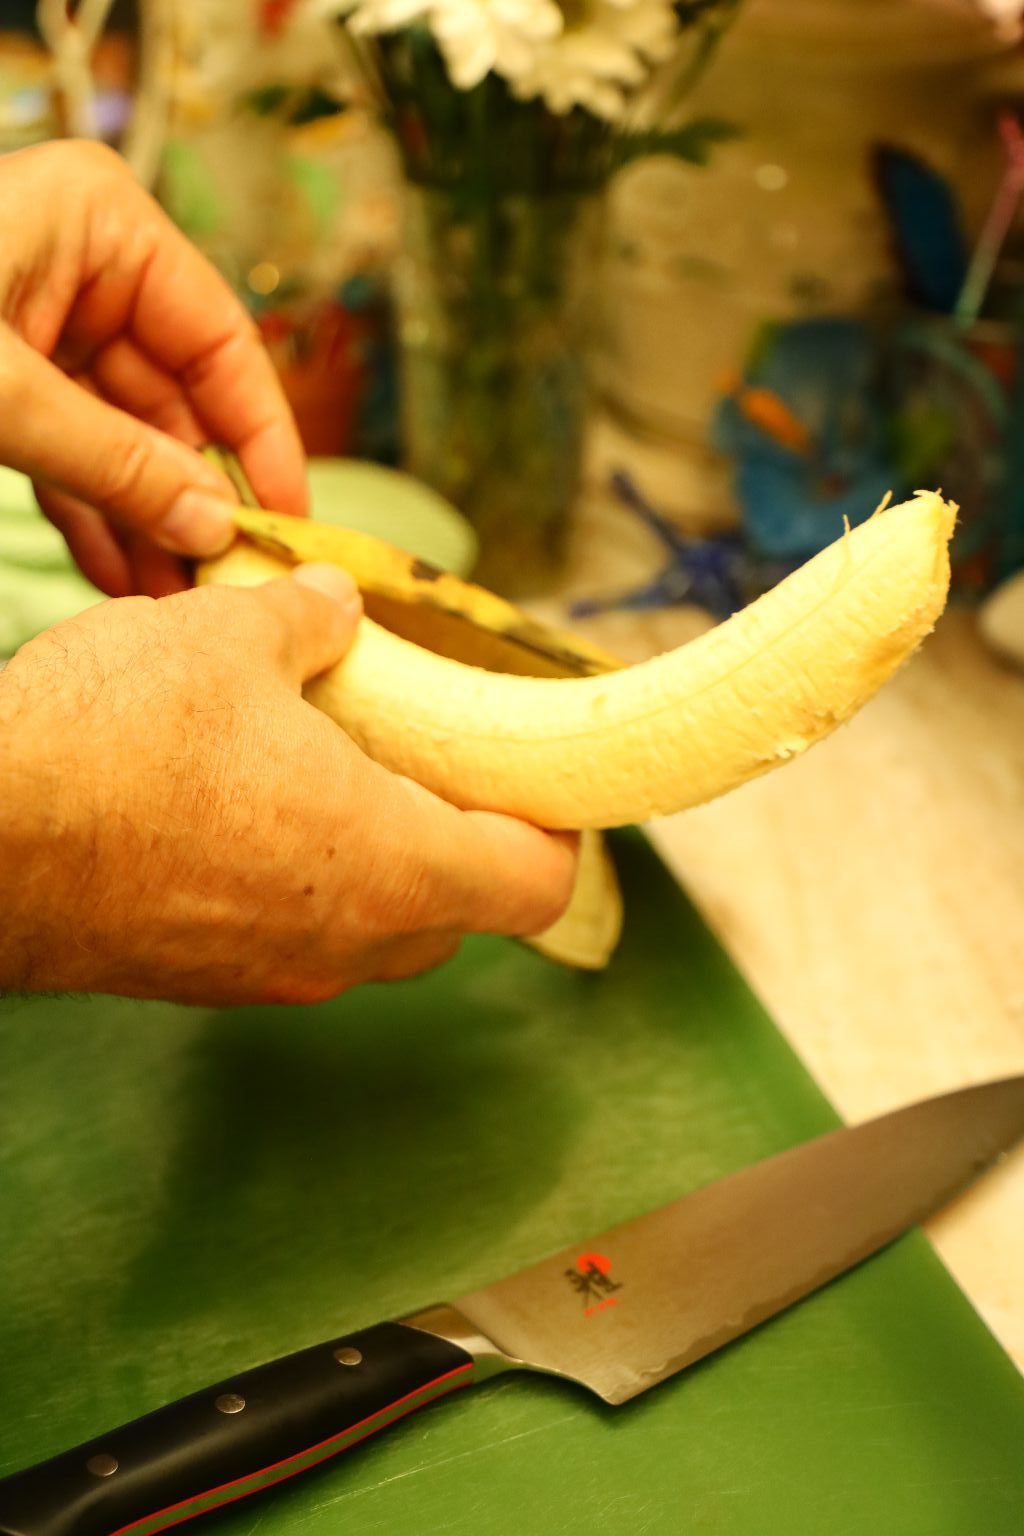
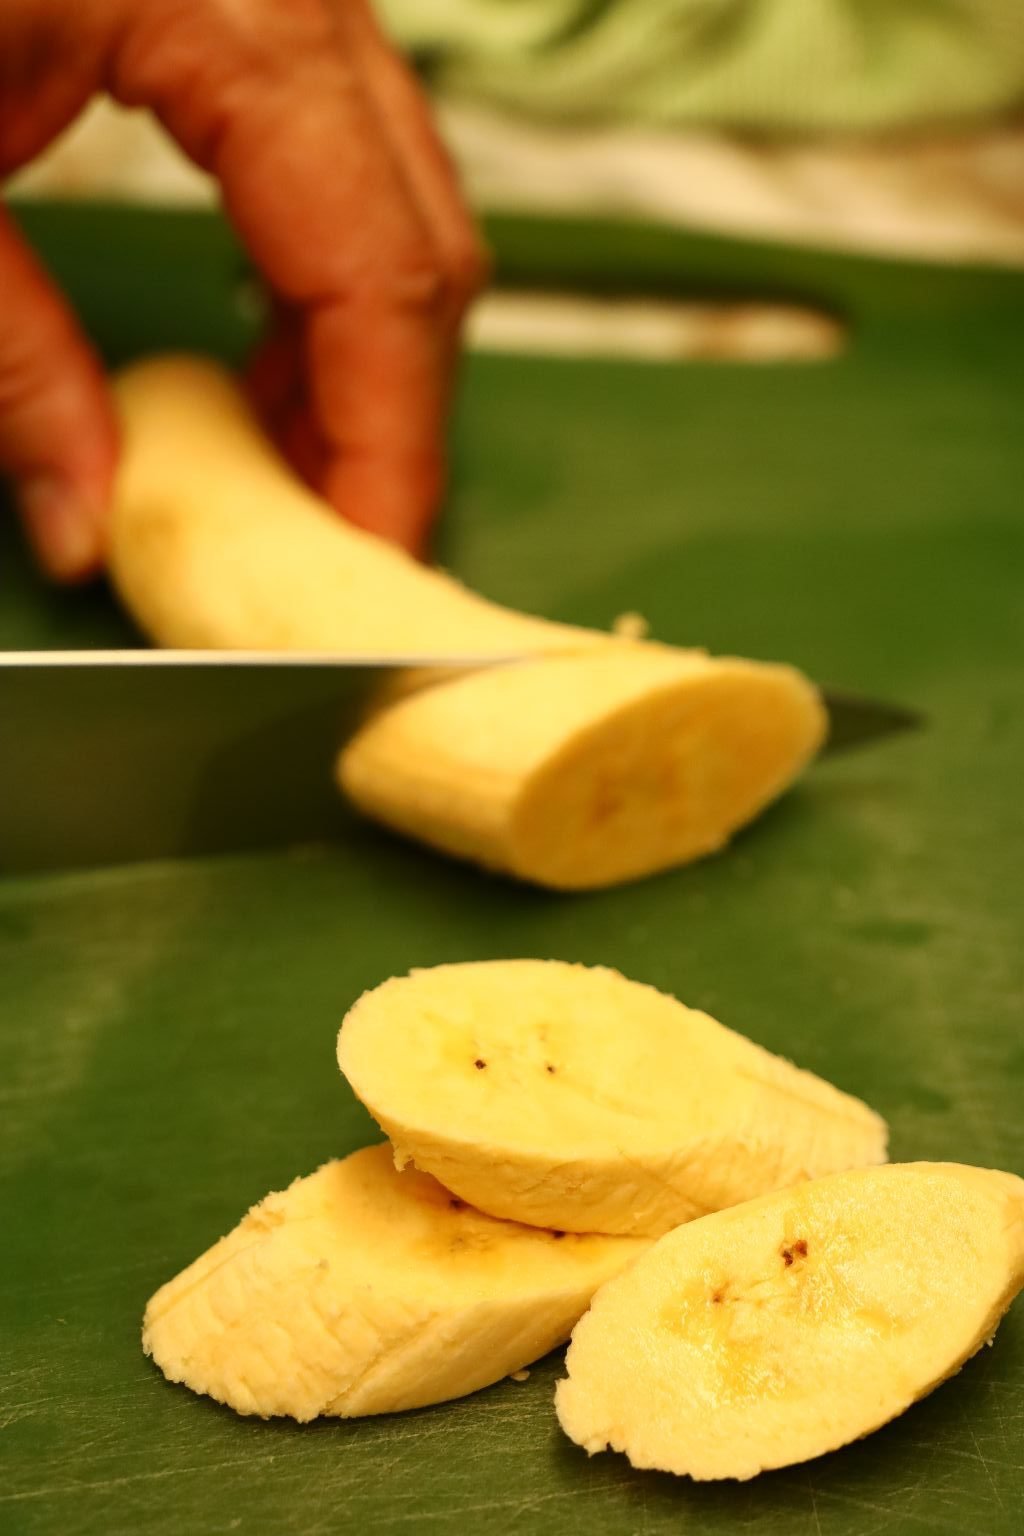

Slice your plantains either length wise or cross sectioned as shown.

——————————————————————-

In a medium sized pan add ~2 Tbsp. of butter and turn on the heat to medium.
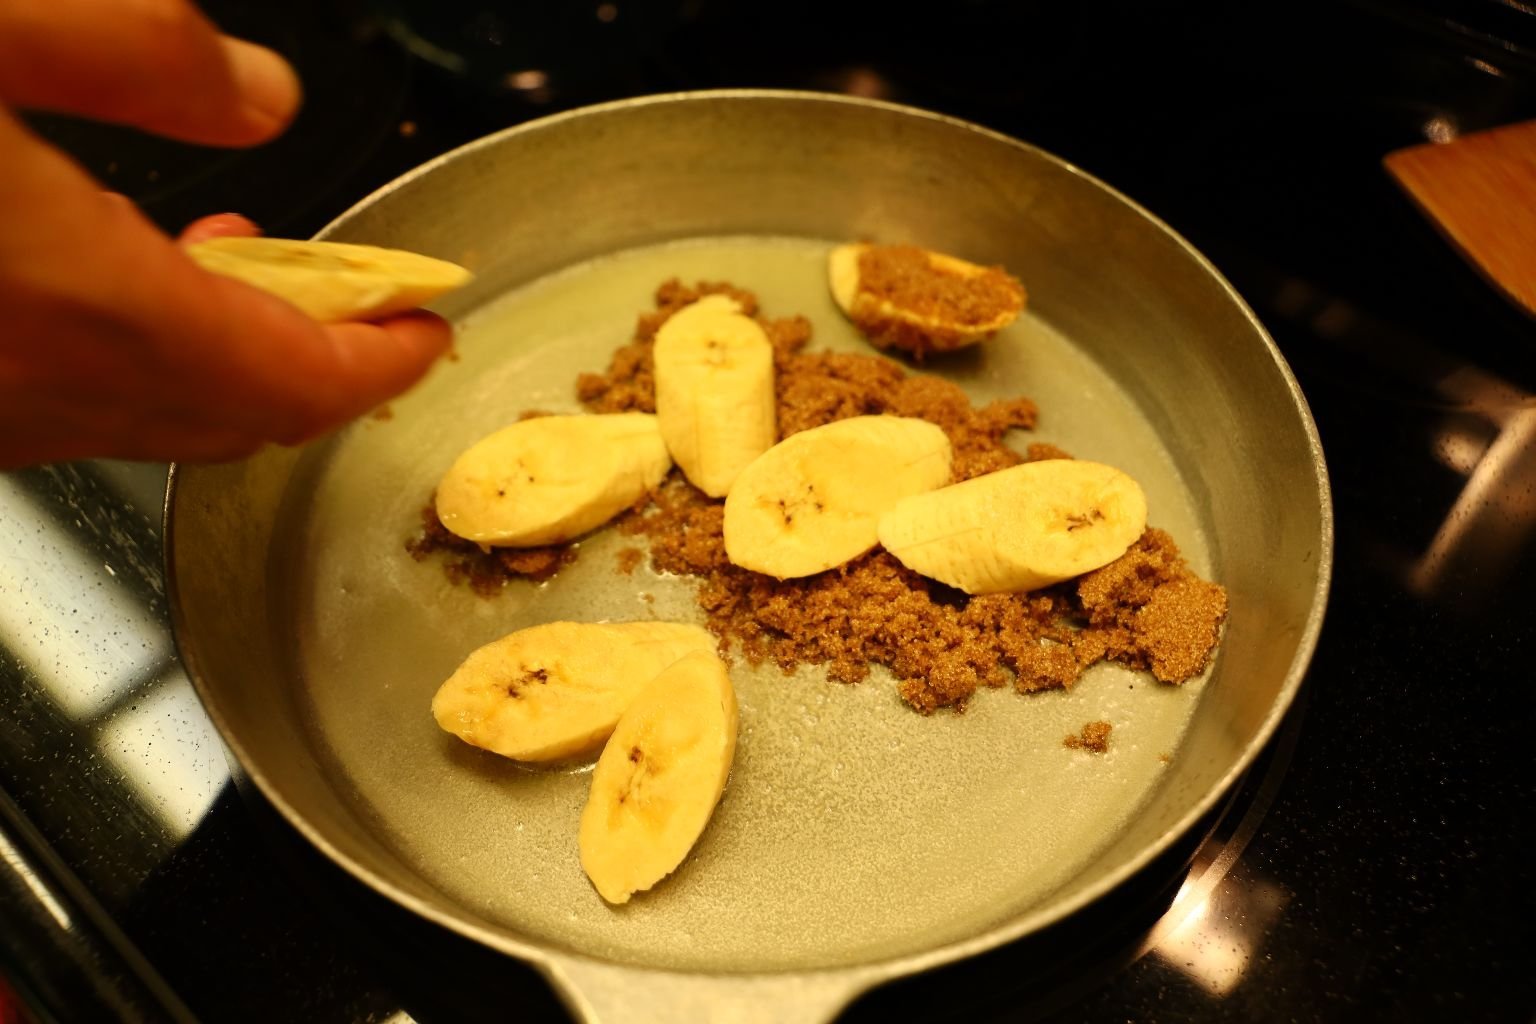
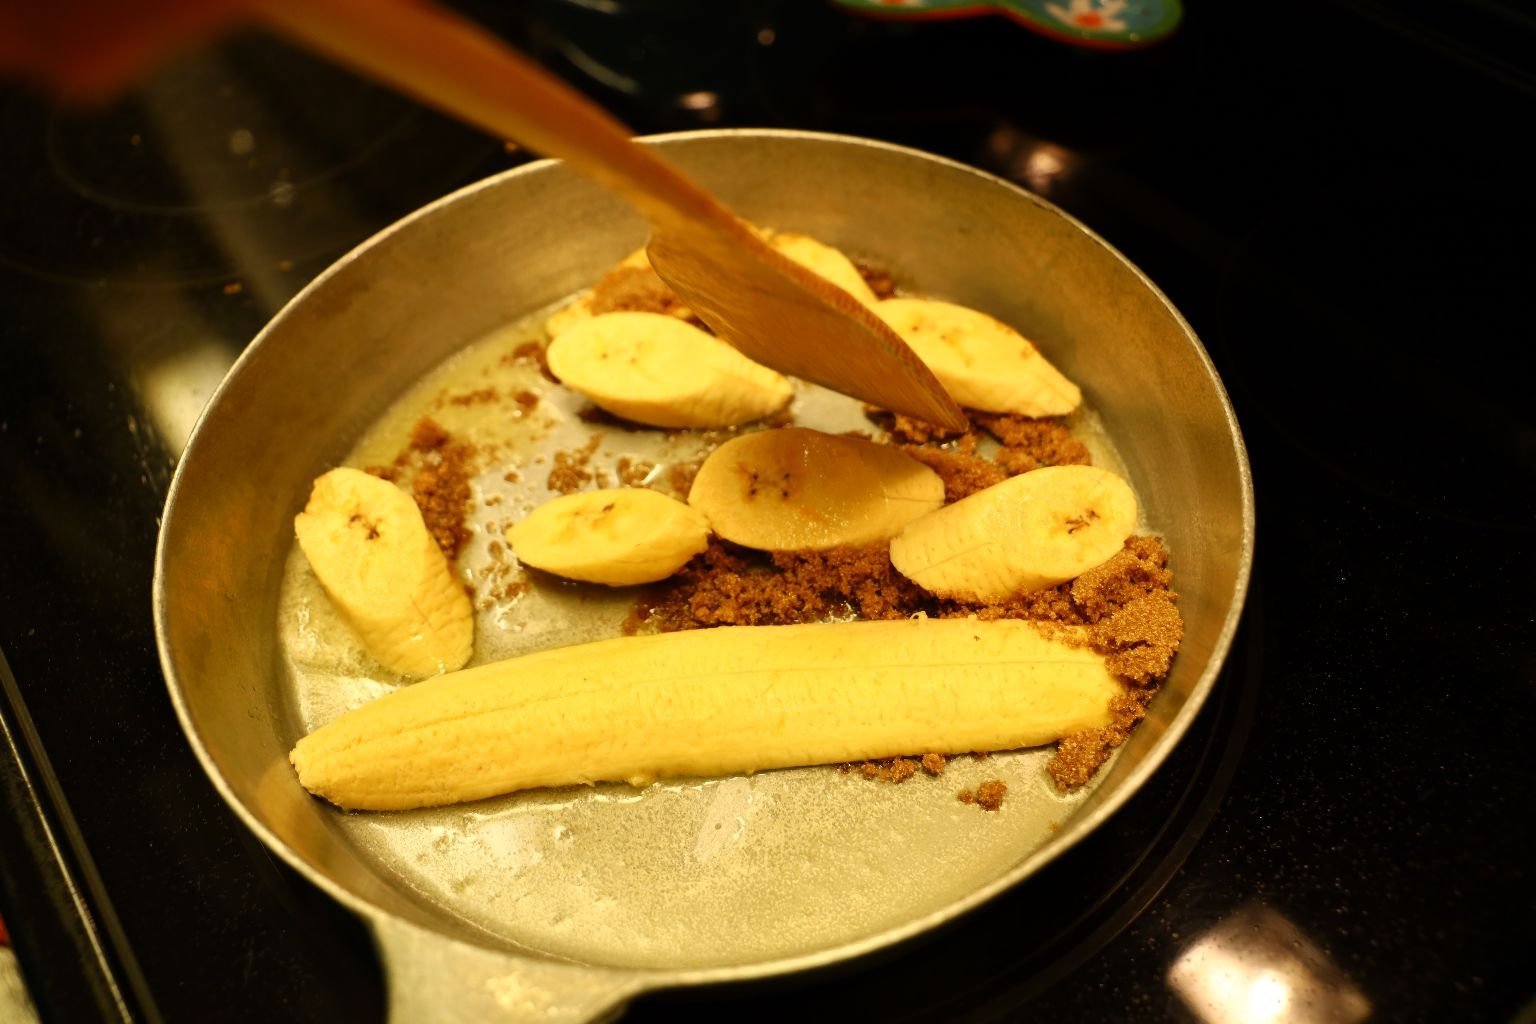
Move the melted butter around the pan and add around 1/2 Cup brown sugar and enough plantains to almost fill the pan.

Stir the ingredients around to coat the plantains with the butter and brown sugar mixture.
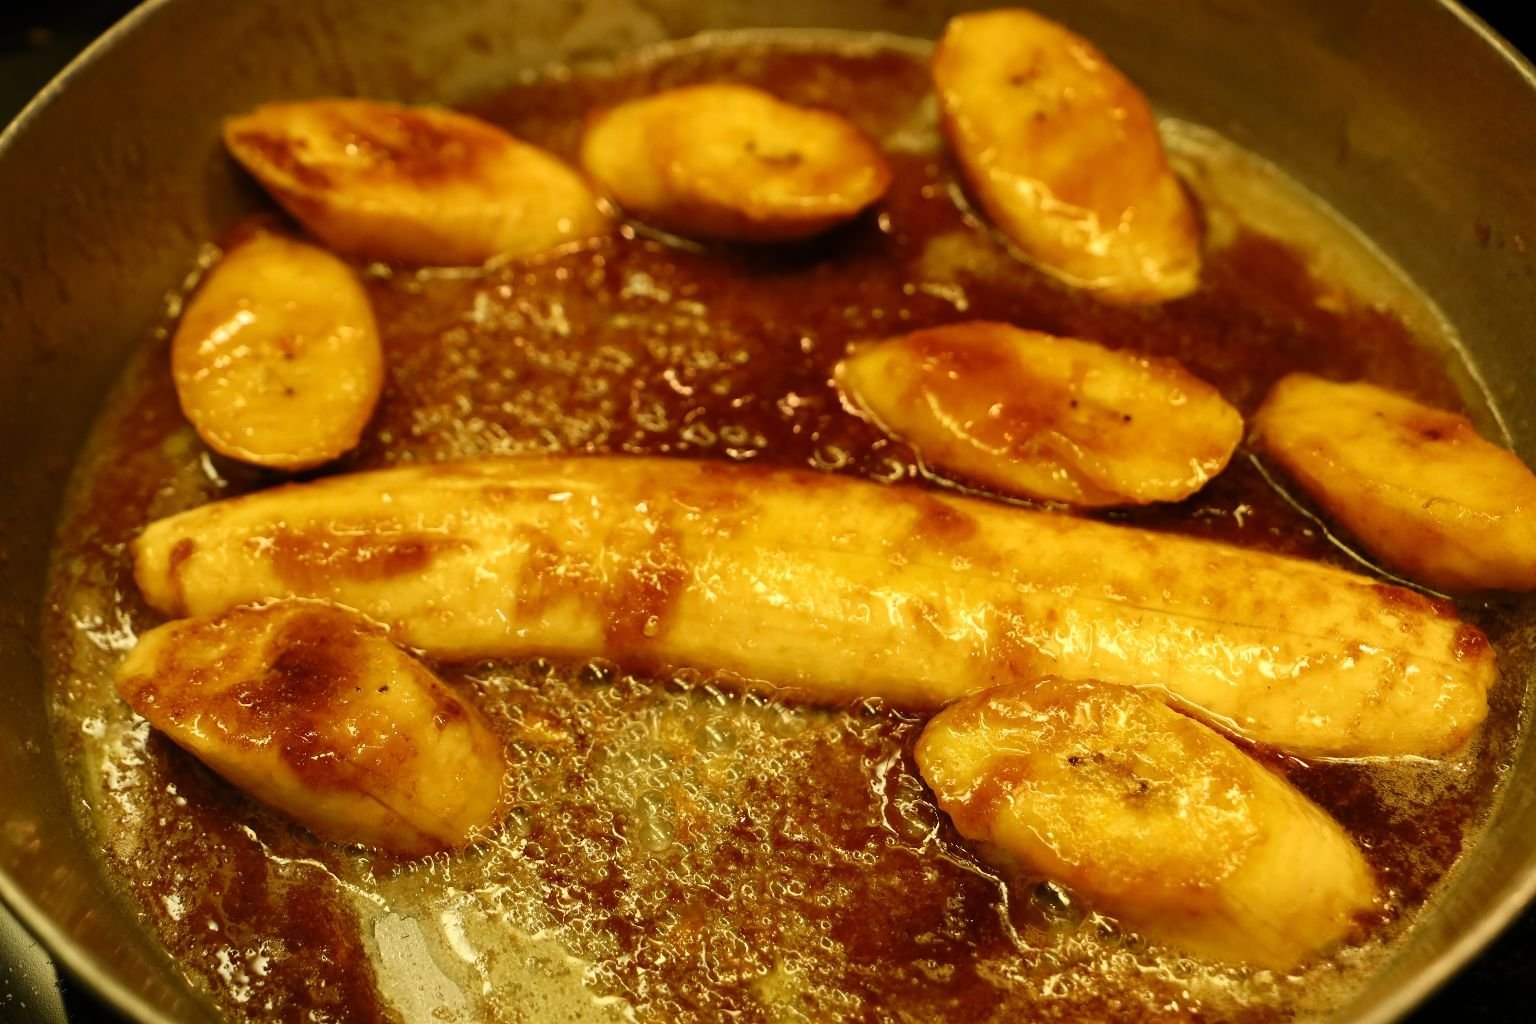
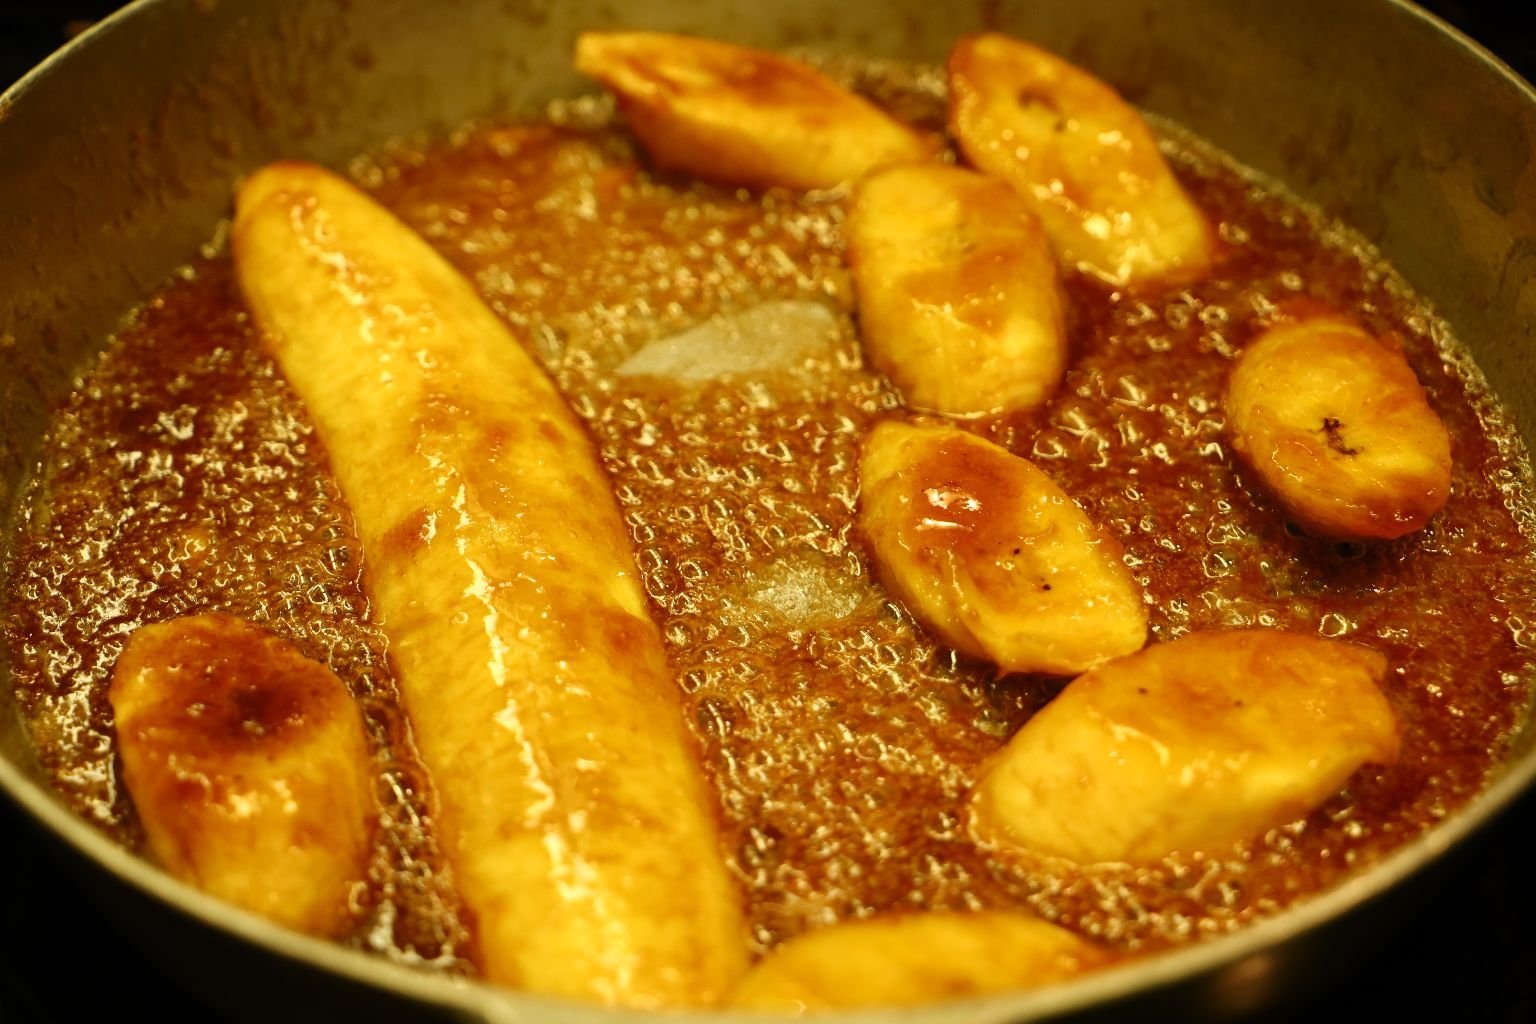
Here you can see the brown sugar is melted and beginning to coat the plantains. Continue to cook the plantains until they become softened. Remove the plantains when they are soft and well coated with the melted brown sugar. This process will take about 8-10 min.


Place the cooked and well brown sugar coated plantains on a plate to cool. Let the pan cool a bit then wash it clean and begin the process all over again with the rest of the plantains. You can also use another pan while the other is cooling or getting cleaned.
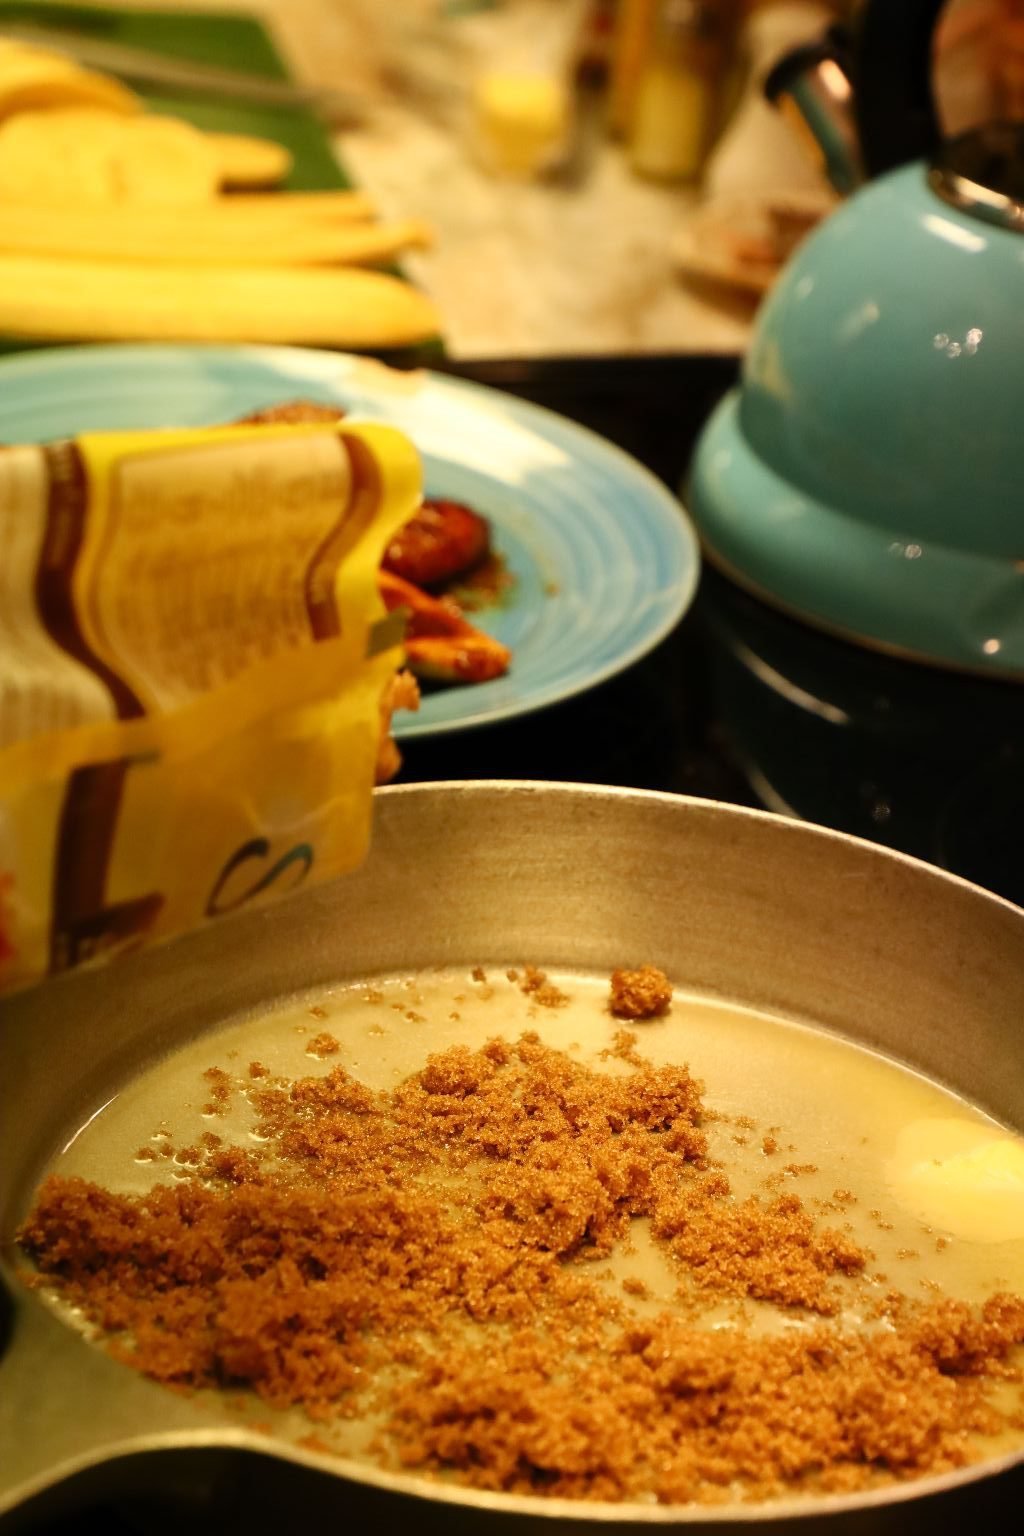

Here I have melted the butter and sugar to the clean pan. Melt the butter and brown sugar together slightly …

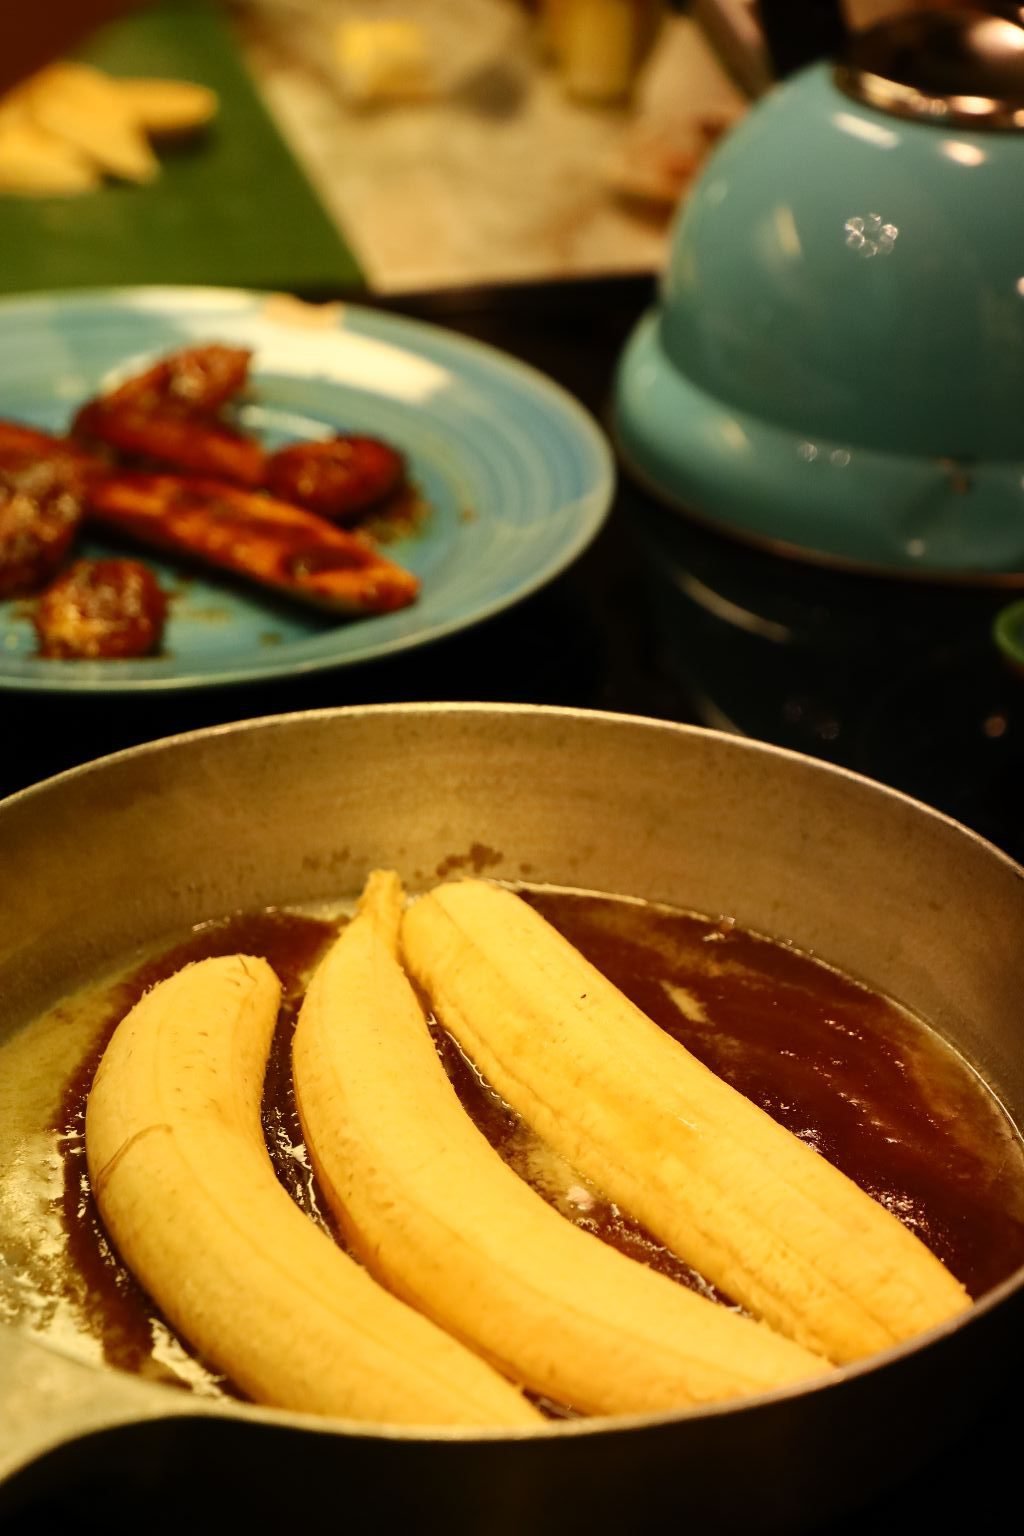
then add your sliced plantains as before.
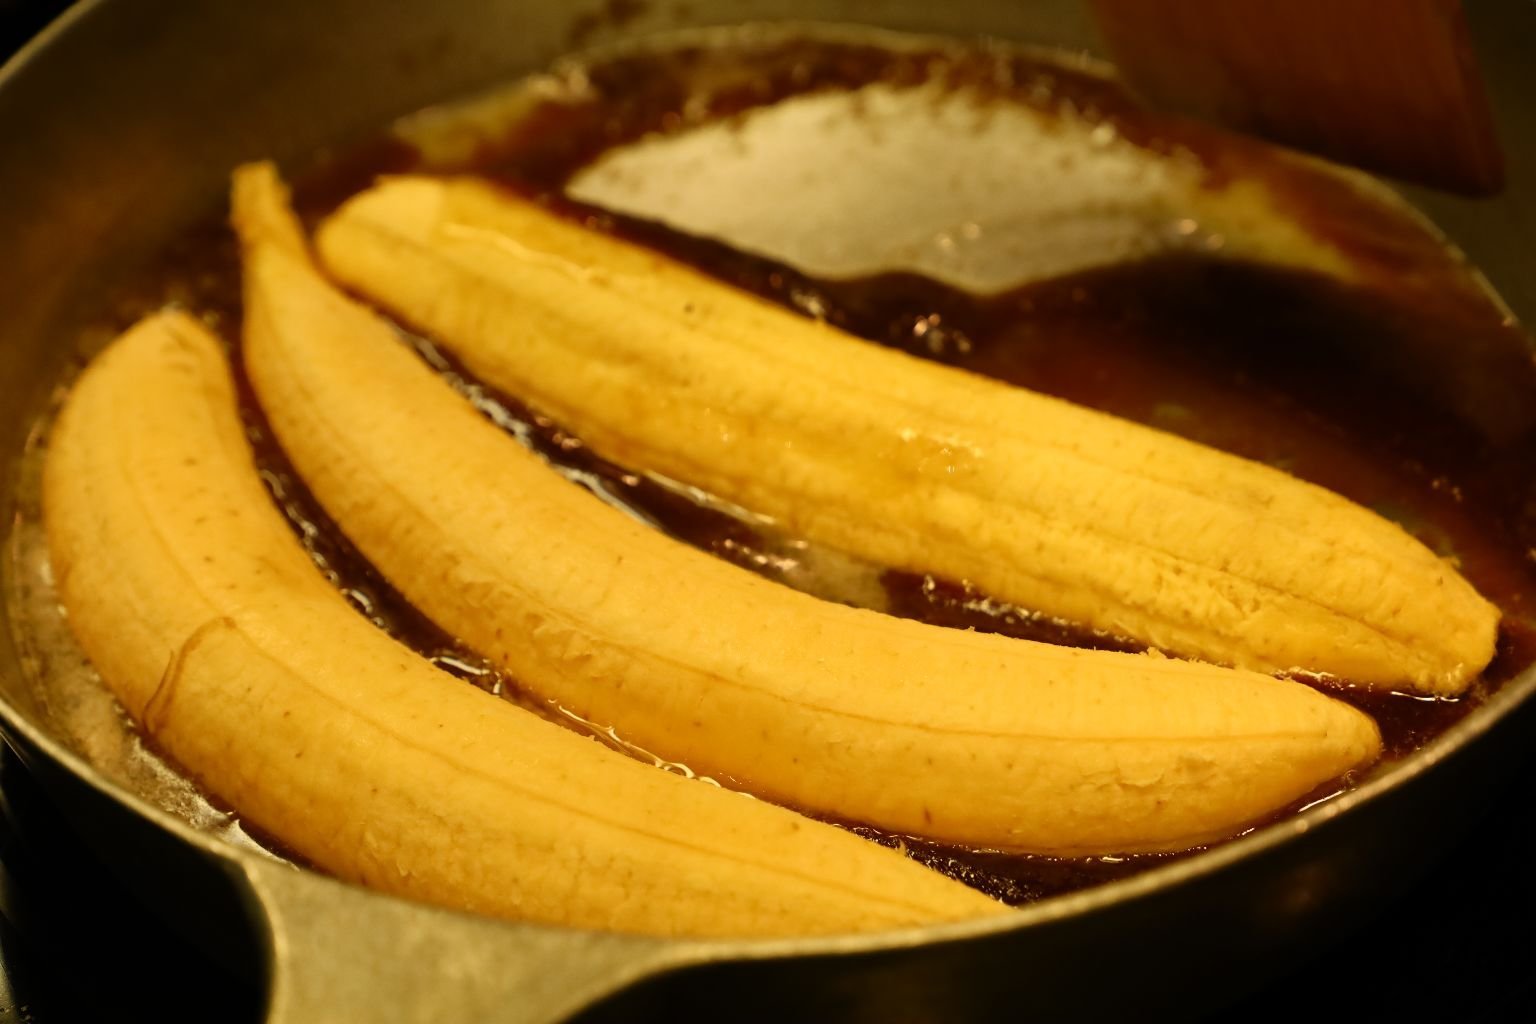
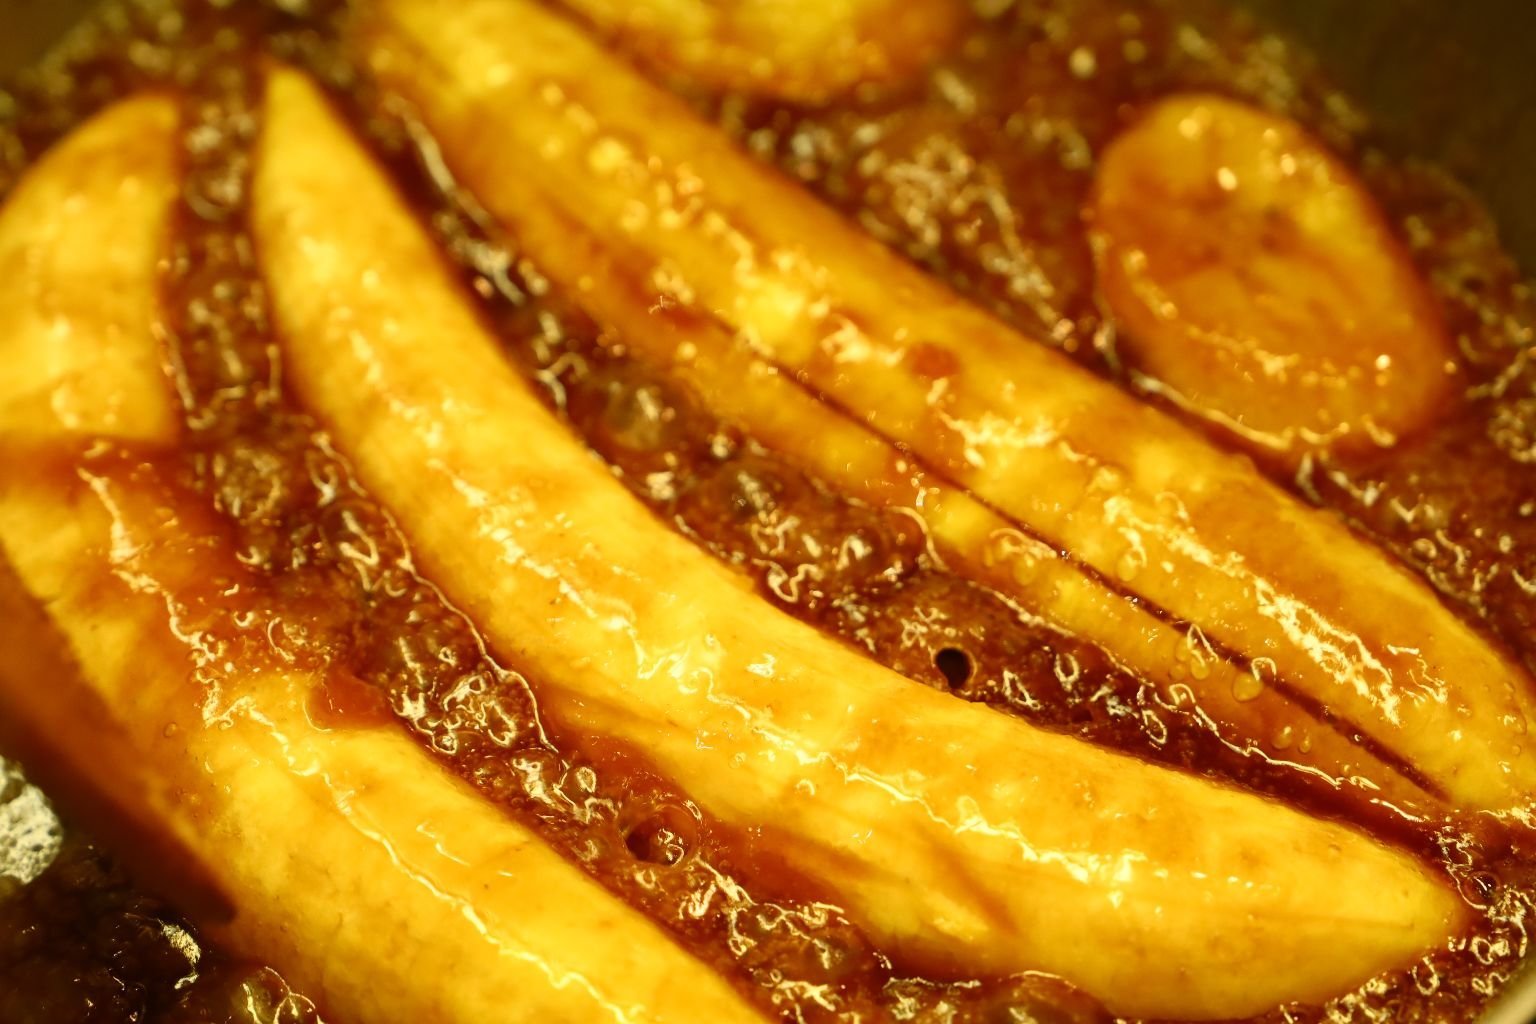
Here I am melting the brown sugar and started to coat the plantains with it.
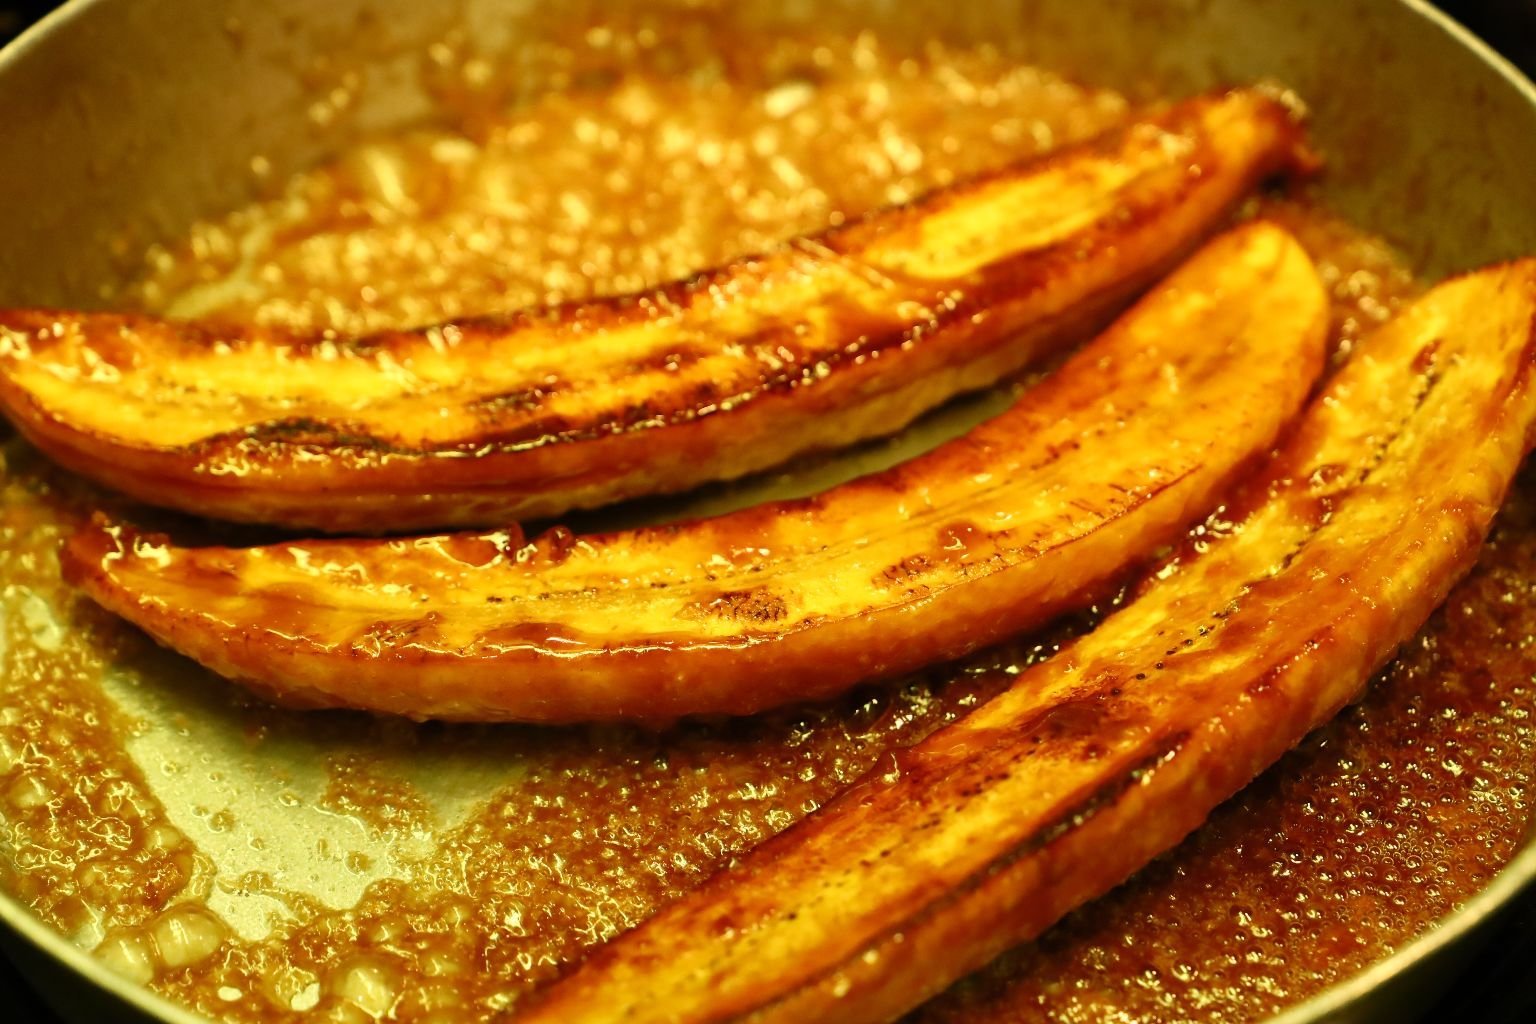
The plantains are beginning to brown and soften so it is time to remove them to a plate…

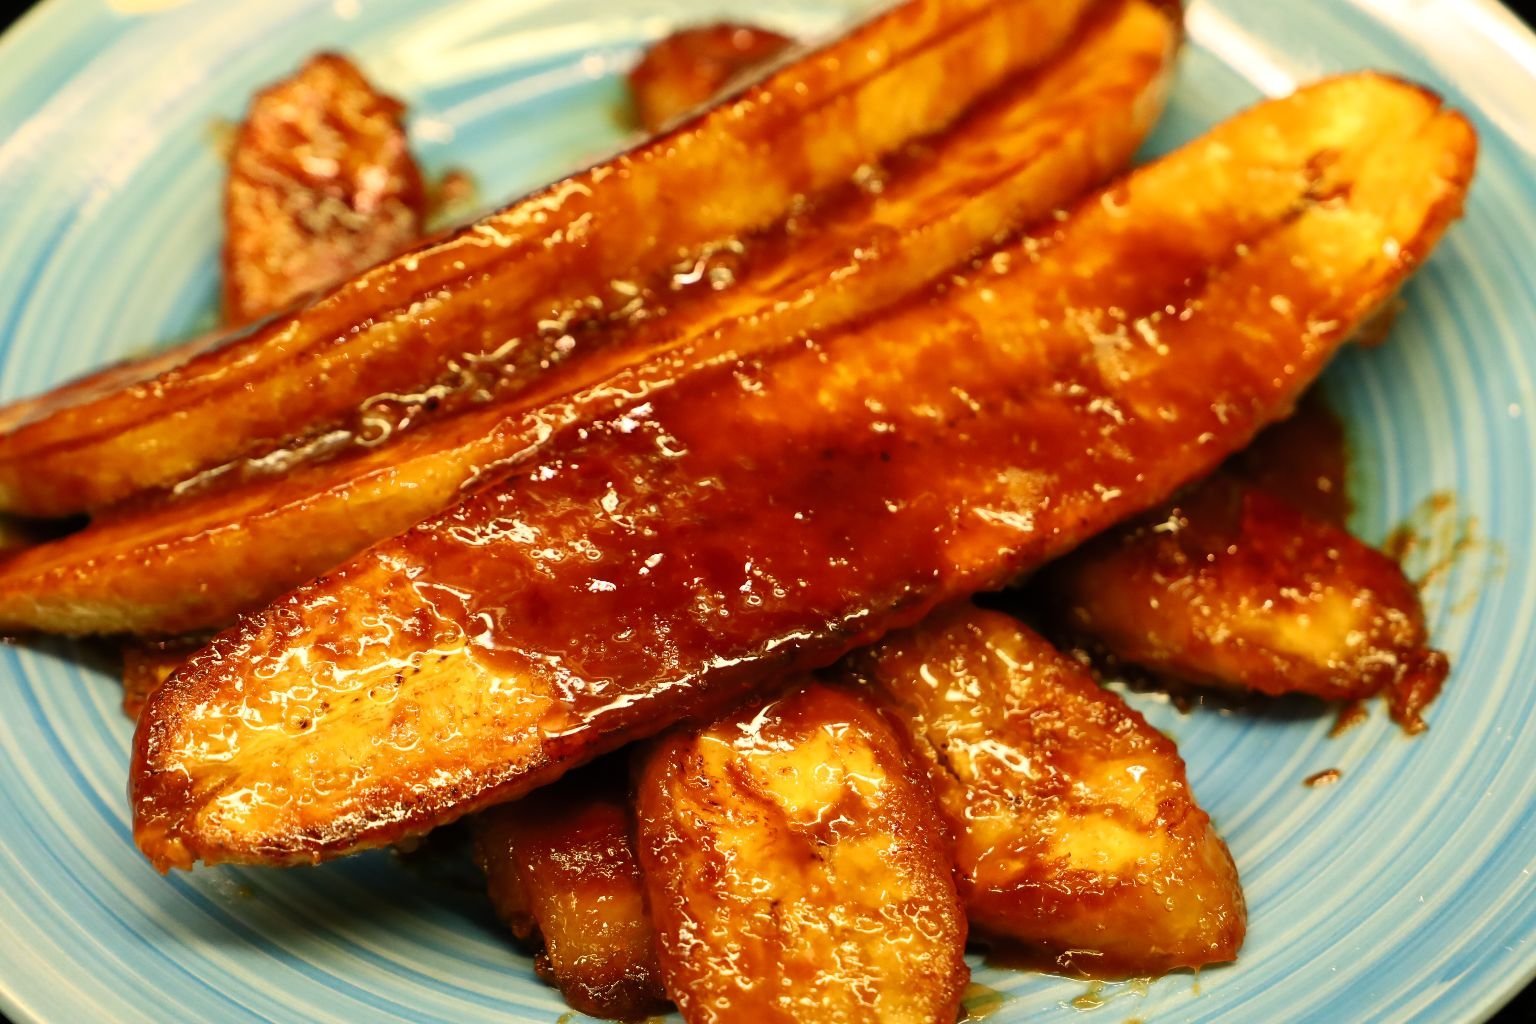
and pour the rest of the melted brown sugar over the plantains as shown.
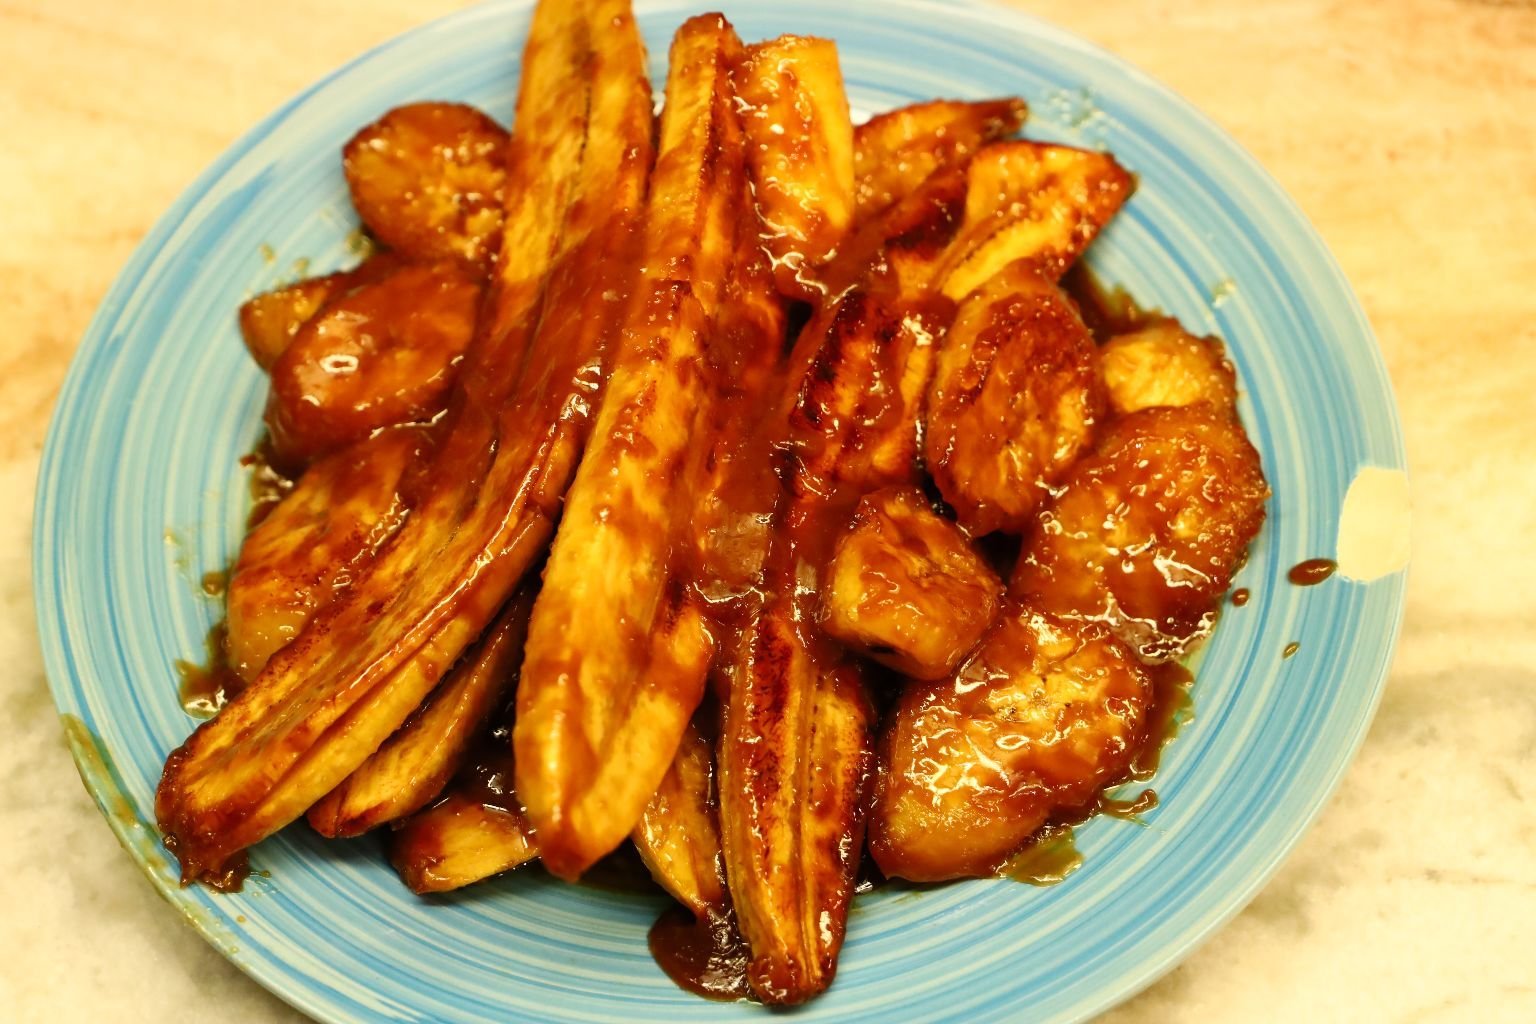
This was amazingly delicious!
The coating hardened and it was as if we were eating a banana lollipop. The coating was almost like a brittle. I just knew that someday we are making these again and inserting a stick and eating them like candy. They were perfect!
——————————————————————–
Campfire Plantain Smores at Home in the Oven


All that is required here are some Plantains, Butter/Marjarine, and Brown Sugar.

Fried Plantains are Always a Hit!

You just want to saute around the pan while the sugar and butter all melt together caramelizing the Plantains until they are perfectly delicious. Probably about 20 minutes on a medium heat. Stirring constantly! Just as we did in the Plantain recipe above.


Our Before and After Smores

I just knew this combination would be wonderful!
Graham Crackers, Chocolate, Marshmallows, and Fried Plantains


When you cut the Plantains on a diagonal they fit nicely inside the sandwich.


Because we don’t have a campfire at home I wrapped them in foil and placed them into a 300F oven for about 25 minutes. I wanted them warm and the chocolate and marshmallows melting. 🙂

Oven Smores with Plantains
Try it!
P.S. Use NON-STICK Aluminum Foil!